Signing in
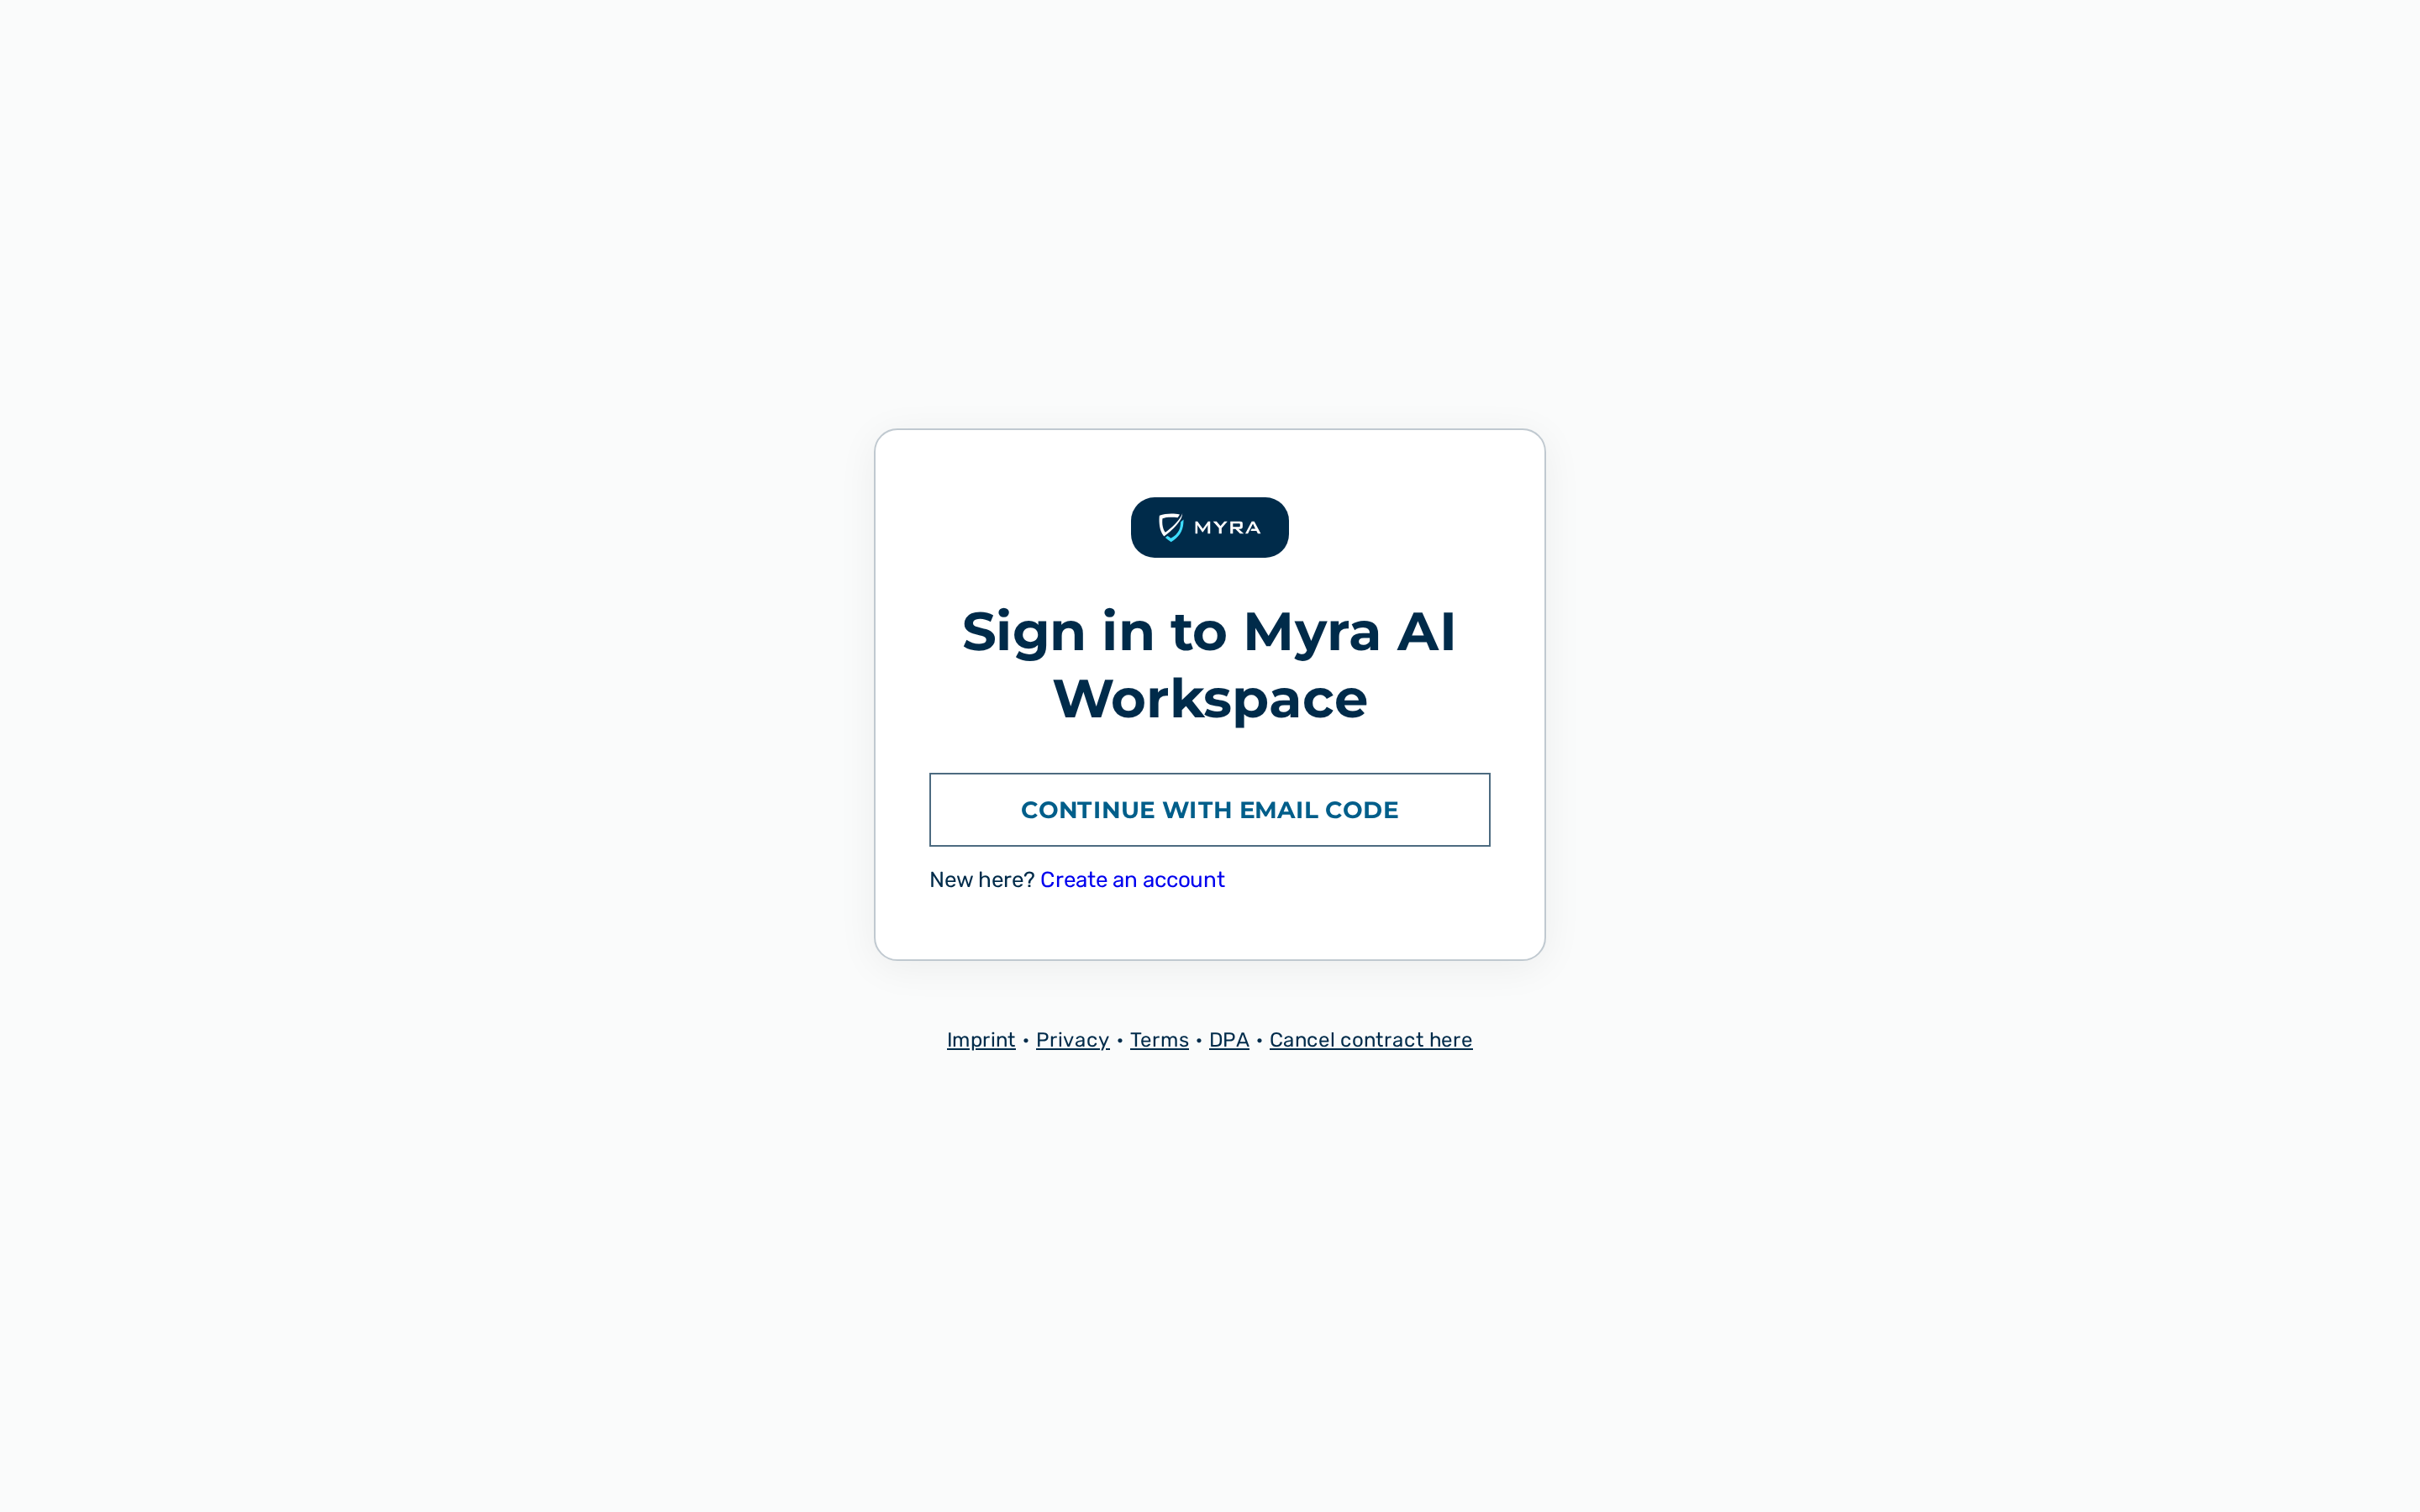
Description
The application is reachable at https://ai.myra.eu and is protected by an admin session cookie (aig_admin). The sign-in page is at the URL /login. The application redirects to /login when an unauthenticated browser tries to reach a protected route.
The sign-in page heading reads Welcome back to AI Workspace (or the tenant's white-label product name, when configured). The page offers these sign-in methods:
- Email one-time code (OTP) — a 6-digit code sent to the email address. Every account can use this method.
- Single sign-on (SSO) — a redirect to the organization's identity provider (OpenID Connect or SAML 2.0). This method is available only when an administrator has configured SSO for the tenant that owns the email domain.
- Google / Microsoft quick sign-in — one-click sign-in (and registration) with a Google or Microsoft account. Each provider's button appears only when a platform admin has turned the feature on (
oauth_login_enabled, off by default) and that provider's credentials are provisioned; otherwise the page shows only OTP and SSO. On the register page the same button stays greyed out until the Terms + AVV consent checkbox is ticked — the acceptance is recorded with the Google/Microsoft registration exactly as with the email one. If a Google/Microsoft sign-in cannot complete (a disabled account, a transient fault), you return to the sign-in page with a message explaining why.
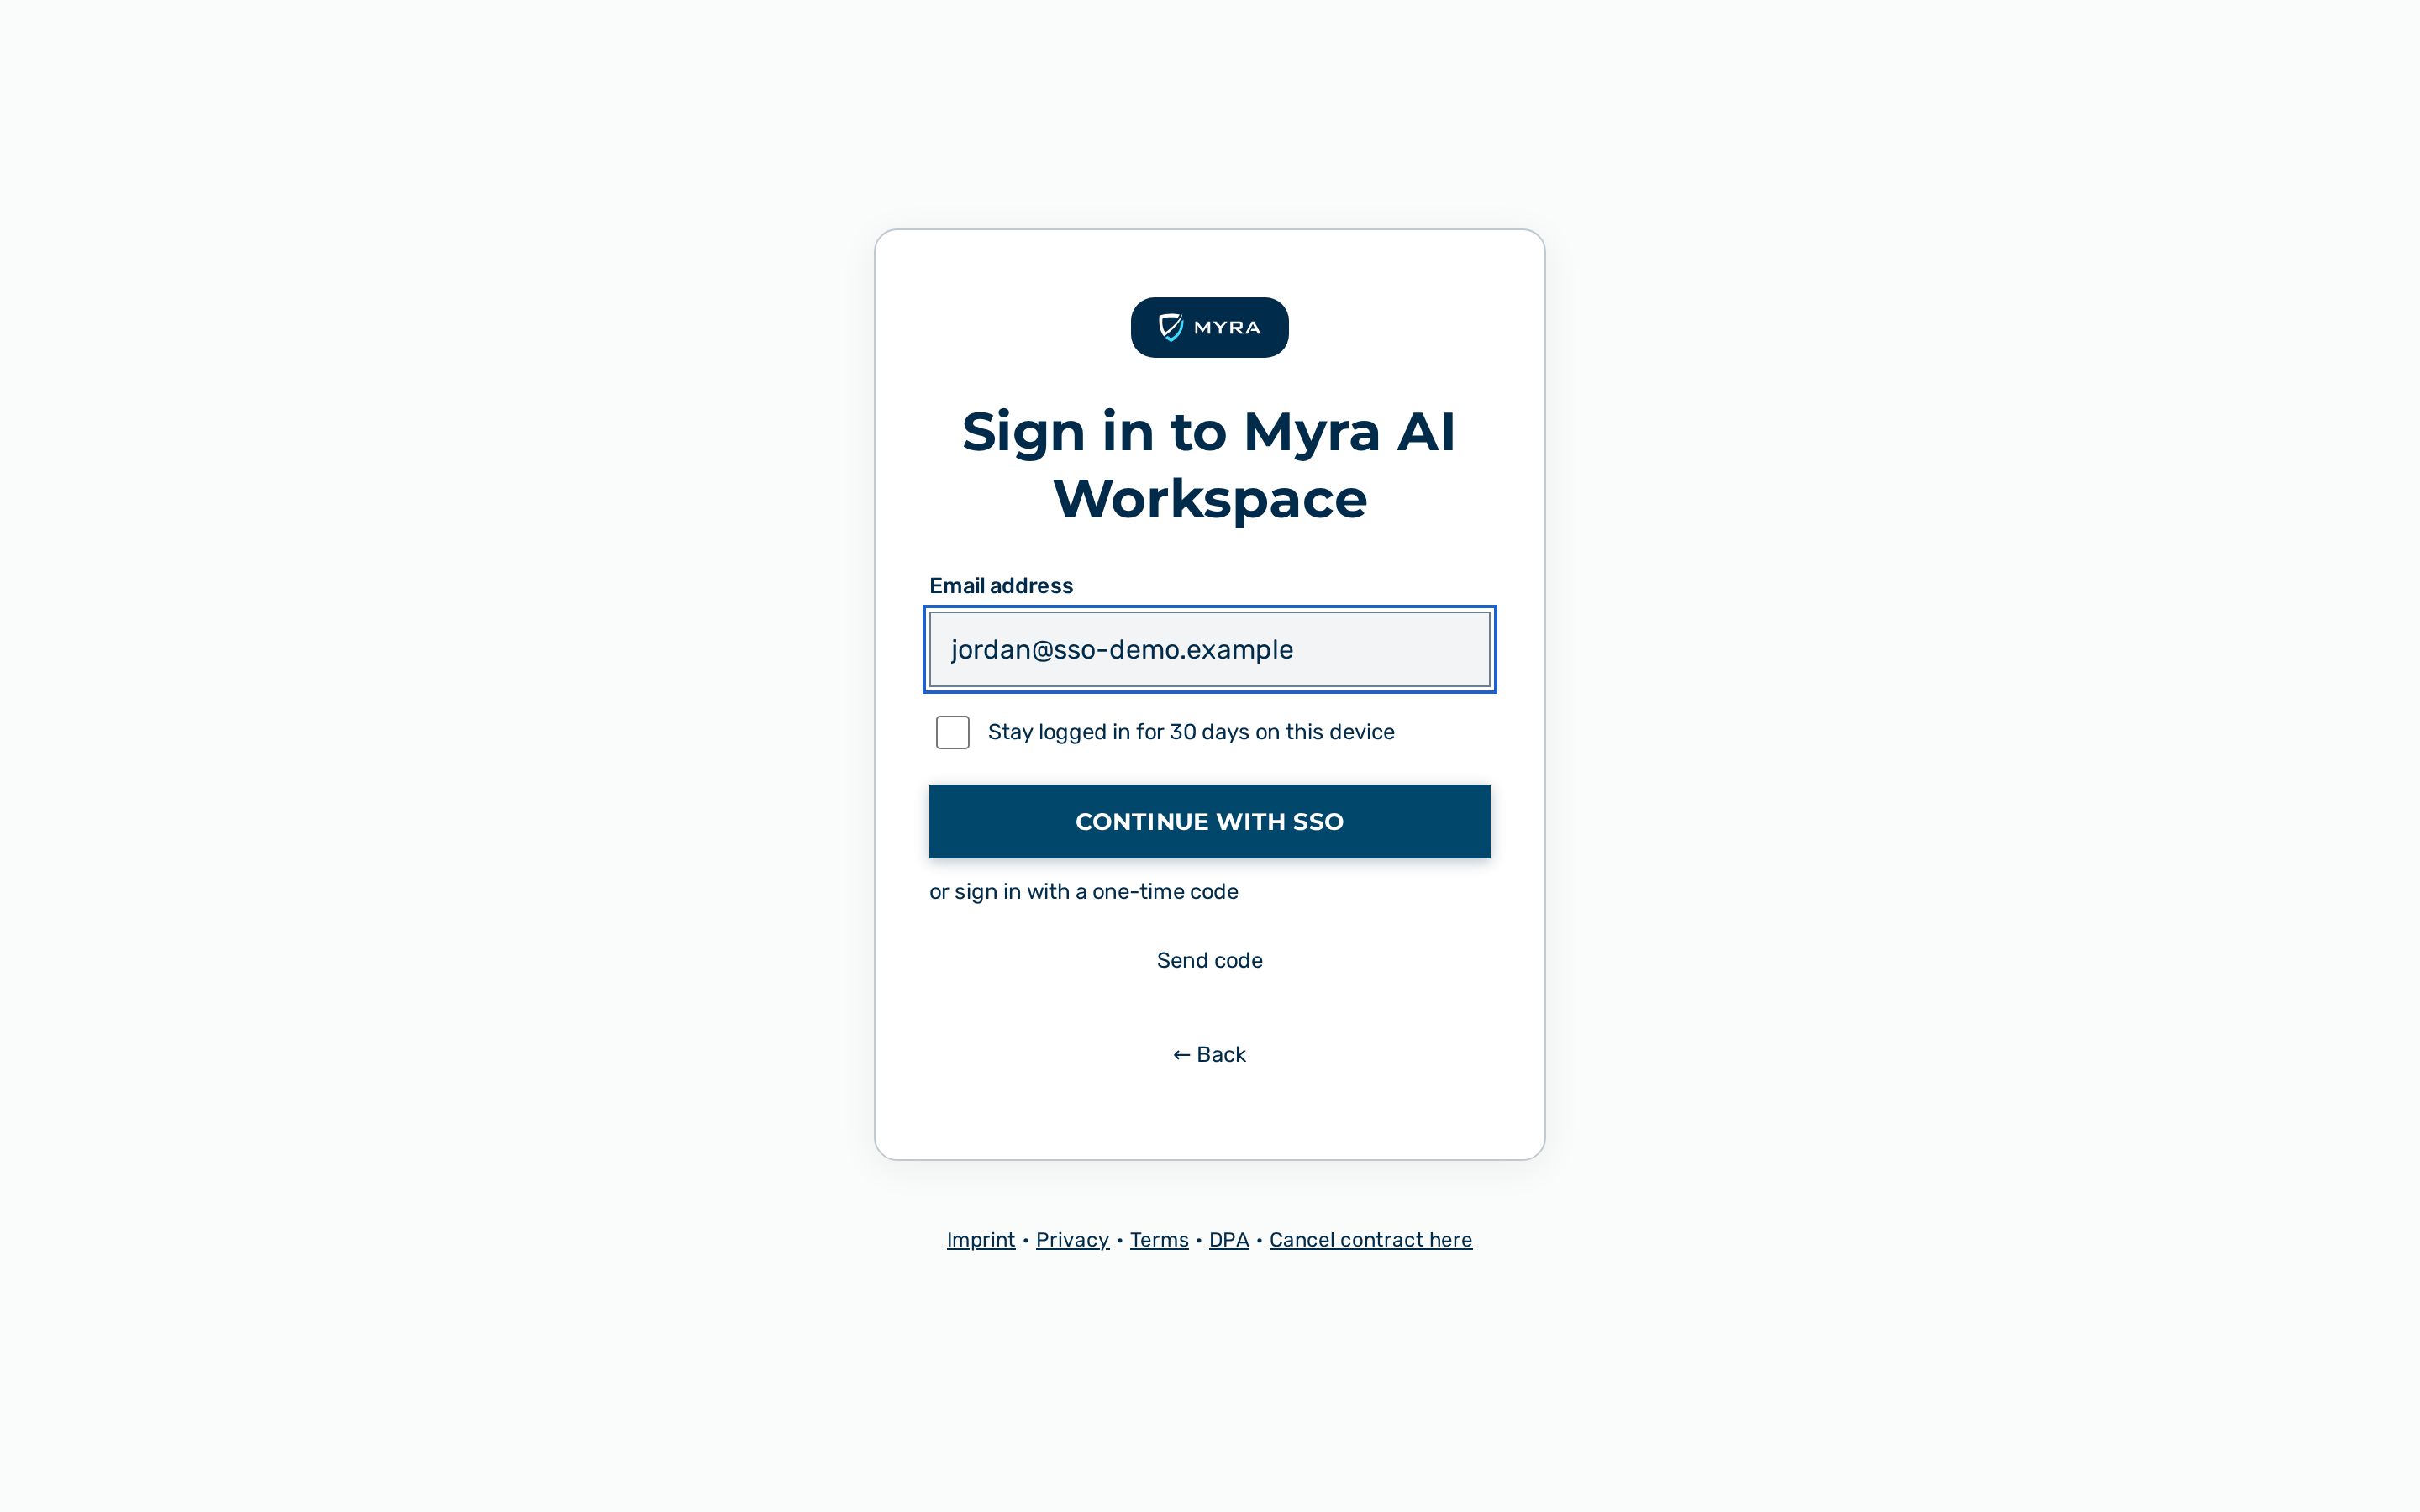
The sign-in page detects an SSO domain automatically: the Continue with SSO button appears after the user types an email address whose domain has an enabled SSO configuration. There is no separate SSO entry point on the page.
Accounts are not created automatically on first sign-in — neither by email OTP nor by SSO. An administrator must add the user account in advance from the Users view, or the identity provider provisions it through SCIM. See Users and Tenants.
💡 Note: App Store reviewer accounts and similar fixed credentials use a static OTP set by an administrator. The user enters the email address and the configured static code through the same flow described below; no email is sent for static-OTP accounts.
Session duration
The session length is the same for both sign-in methods and depends on the Stay signed in for 30 days on this device option, which is ticked by default — so an ordinary sign-in lasts 30 days, and clearing the box gives the shorter 8-hour session:
| Sign-in method | Option cleared | Option ticked (default) |
|---|---|---|
| Email OTP | 8 hours | 30 days |
| Single sign-on (OIDC / SAML) | 8 hours | 30 days |
The session is carried in the aig_admin cookie (a signed JWT). The application redirects to /login when the session expires. Reaching /login while a valid session is active redirects to the page named by the sign-in link (see Returning to the requested page) or, without one, to the start view (/dashboard for admins, tenant admins, and KI-Managers, /easy for members and viewers).
Role model
Every account has one role. The role controls which views appear in the sidebar and which actions the account may perform.
| Role | Access |
|---|---|
admin |
The whole platform: every tenant, gateway, and user. |
tenant_admin |
The user's own tenant: manages gateways, users, and tenant-level settings within the tenant. |
ki_manager |
The user's own tenant: manages groups and workflows, and sees group-scoped cost analytics. No tenant, gateway, or user administration. |
member |
The user's own tenant: full chat and inference access; can create personal authentication tokens on their Profile page (Account › Profile). No user, tenant, or gateway administration. |
finance |
The user's own tenant: the finance and cost console only (spend, budgets, model prices). Can send inference; no user, tenant, or gateway administration. |
viewer |
The user's own tenant: read-only access to the application. Cannot create tokens or send inference requests. |
💡 Note: The
demouserrole is a special no-login demo identity. The public demo entry point that used it is disabled (AGF-2997): a/demo?for=<name>link no longer starts a session. The role is retained for any session issued before the cut-off (valid until it expires) and for a future re-enable; it does not sign in through the sign-in page described here.
Signing in with email OTP
Before you begin, ensure the following conditions are met:
- ☑ Your email address is registered as a user account in the application. Contact an administrator if you do not have access.
Proceed as follows to sign in with email OTP:
- Open the URL
/loginin a web browser. - The email-address form is shown directly. Sign-in is a two-step flow — an email address, then a 6-digit code — with no separate method chooser.
- Enter your email address in the Business email address text field.
- The Stay signed in for 30 days on this device check box is ticked by default, so the session lasts 30 days. Clear it if you want the shorter 8-hour session instead.
- Click on the Request code button.
- The button label changes to Sending… until the request completes.
- For accounts without a static OTP: the system sends a 6-digit code to the email address. The code expires after 15 minutes (an installation may configure a different window) and can be used only once. Only the newest code is valid: requesting another code invalidates every earlier one.
- For accounts with a static OTP set: the system does not send an email; use the configured static code in step 7.
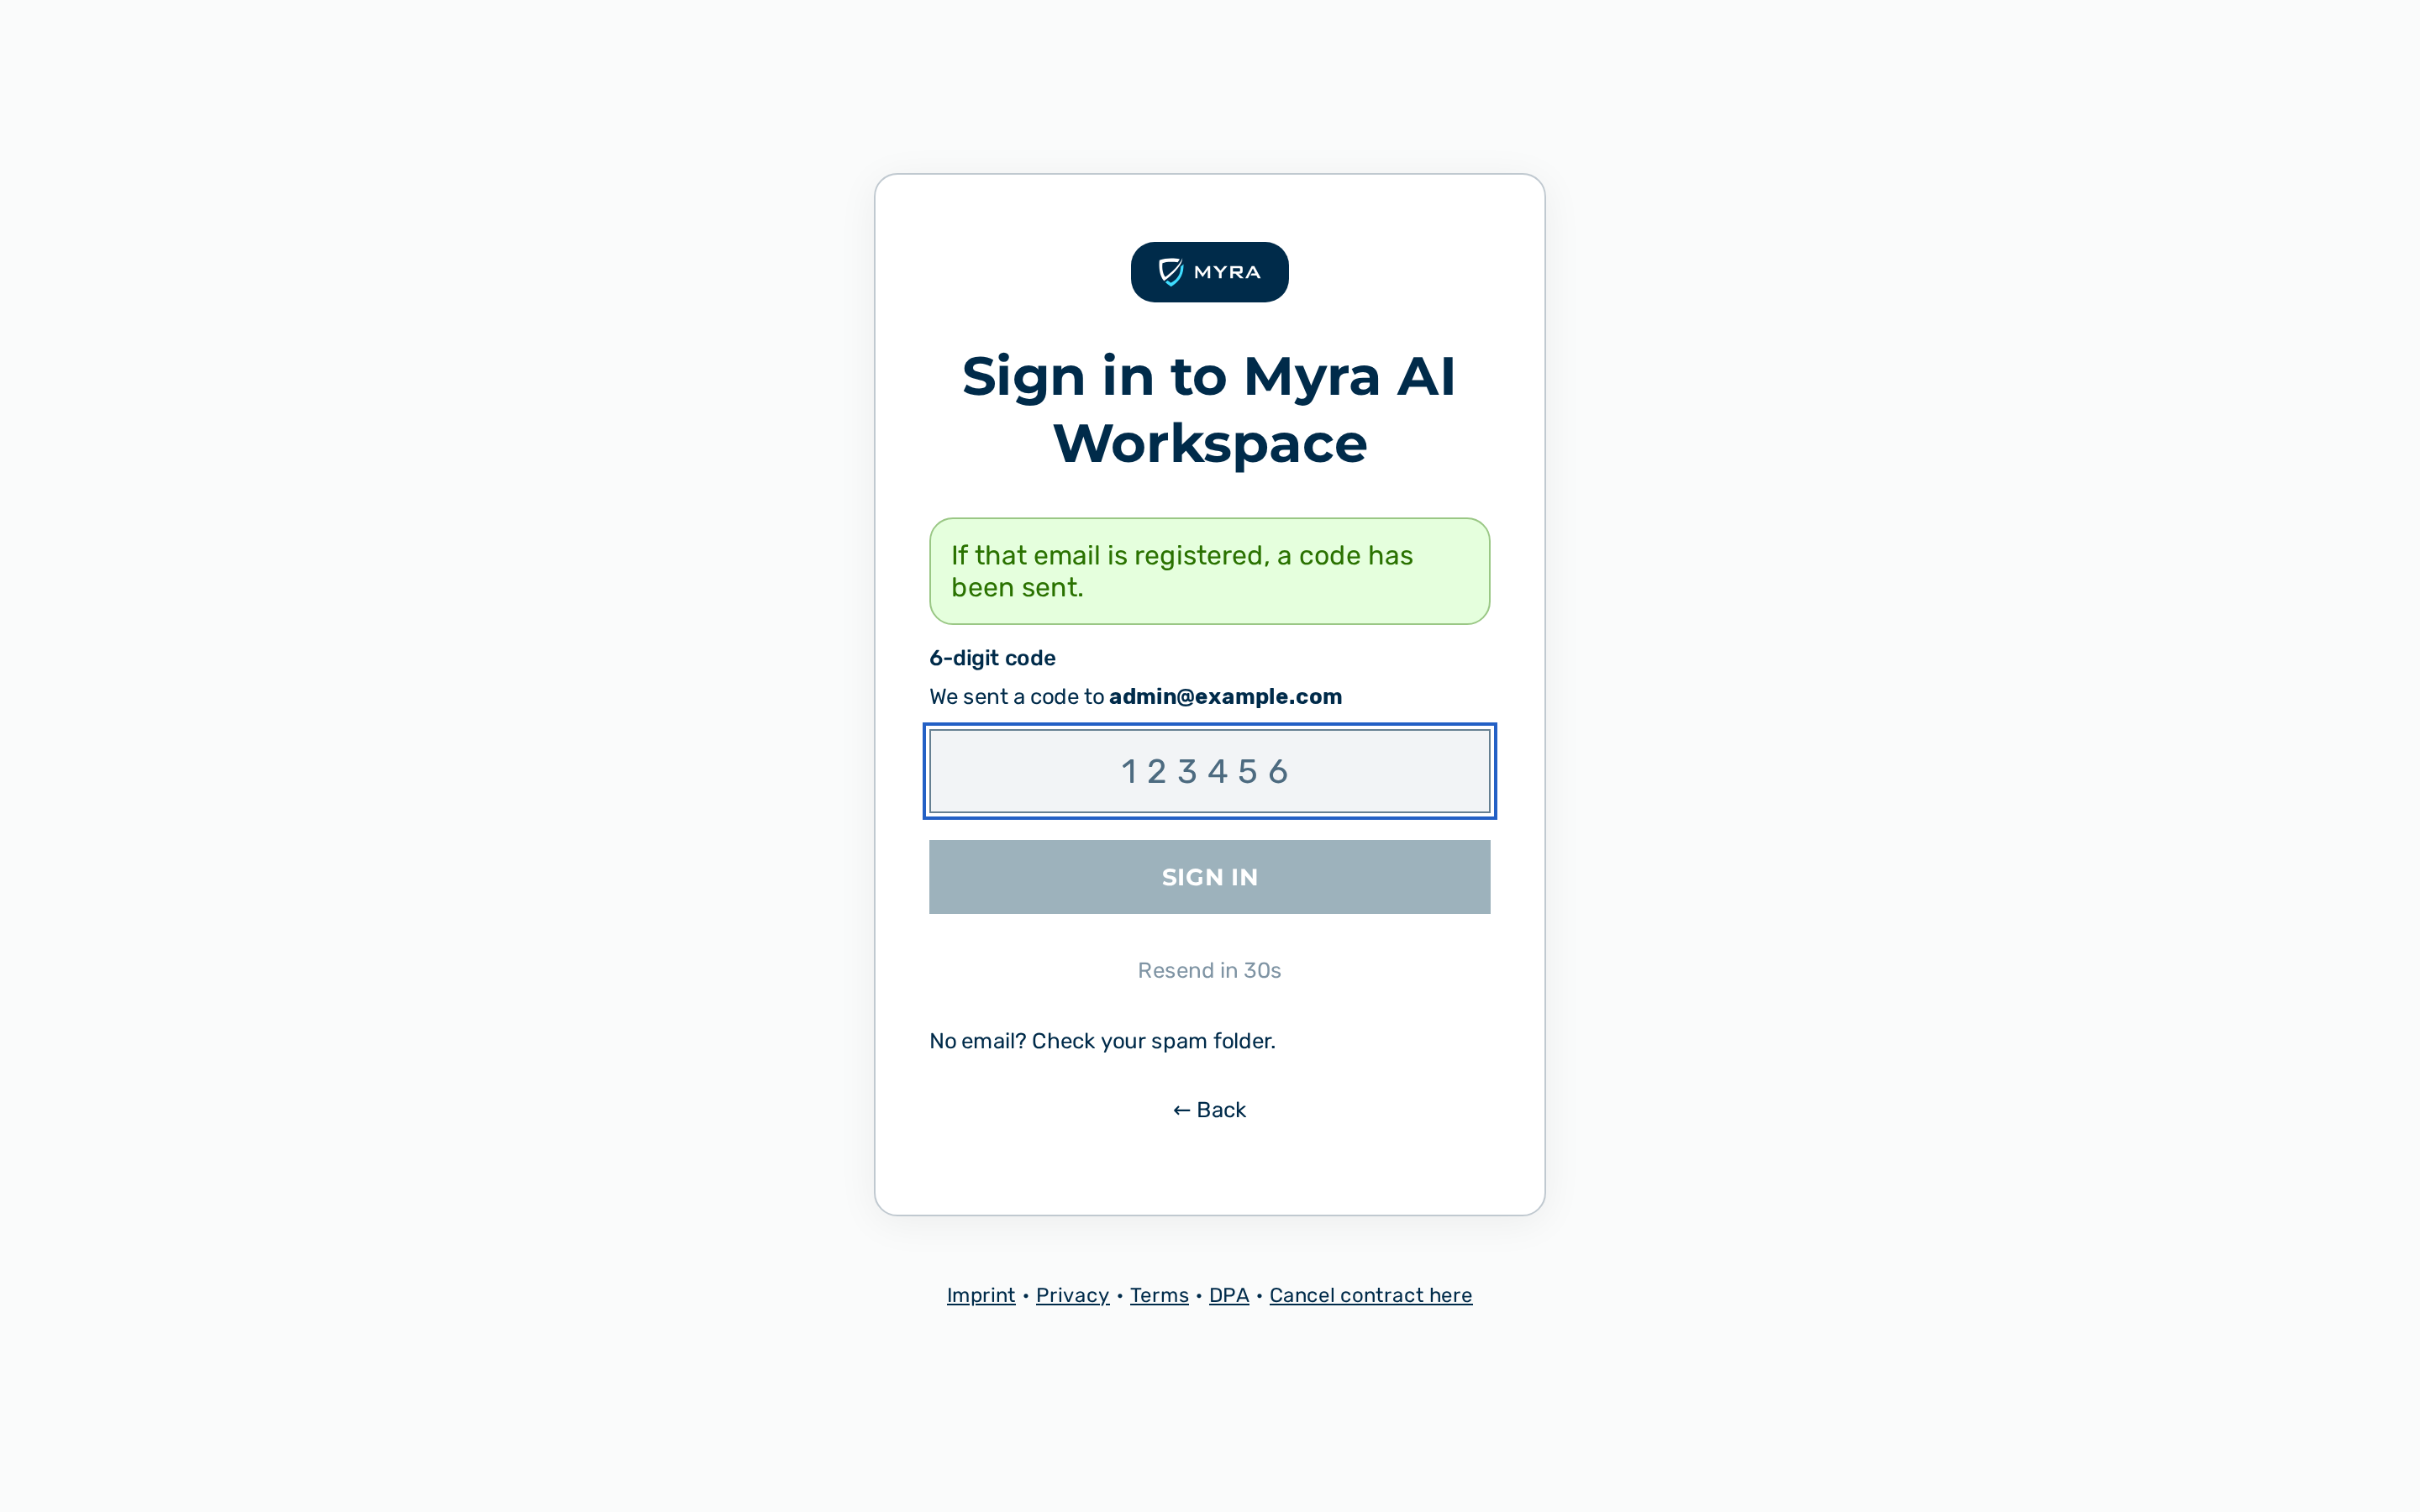
- The 6-digit code form opens with the prompt We sent a code to
<EMAIL>. - If the code does not arrive, click on the Didn't get the code? Resend control to request a fresh code, and check your spam folder.
- The Resend control is disabled for a 30-second cool-down after each send and shows Resend in
s while it counts down. - A resend makes the earlier code stop working — enter the code from the newest email. At most 10 codes can be requested for an address within the code window; further requests are answered with Too many codes requested. Please wait a few minutes before requesting another.
- Enter the 6-digit code in the 6-digit code text field.
- Click on the Sign in button.
- The button label changes to Verifying… until the verification completes.
-> The system creates the session cookie and returns to the page that asked for the sign-in (see below) or, without one, redirects to the start view.
💡 Note: The same email also contains a one-click sign-in link. Open the link on this device to sign in without entering the code. The link works once: using it signs you in and makes the 6-digit code in that email stop working. If you do not open the link, the 6-digit code still works as usual.
💡 Note: After five incorrect entries a code is spent: further attempts with it are answered with Too many attempts. Please request a new code. Request a fresh code (Resend) and enter it to sign in — the new code has its own five attempts. Independently of that, twenty rejected entries for the same address within an hour — wrong codes and entries against an already-spent code count alike — block sign-in for that address until the hour has passed (Too many failed attempts. Please wait an hour before trying again.); a successful sign-in clears this. Because code requests need no sign-in, anyone who knows an address can make it hit these limits — an inconvenience bounded to the window, never a way in.
Returning to the requested page
Opening a signed-in page without a session — a conversation link such as /easy/c/<id>, a dashboard view, or a shared conversation's Continue this conversation button — leads to the sign-in page with the requested page recorded in the link (/login?next=<page>). After the email-code sign-in the browser returns to that page: the conversation opens, and for a shared conversation the copy is created and opened without a second click on Continue. Only a page of this application is honoured — an absolute address, a // address, a path containing a backslash or a percent-encoded slash/backslash, a sign-in or sign-up page, or an otherwise malformed value is ignored and the sign-in lands on the start view instead. A single-sign-on or Google/Microsoft round trip carries the requested page too: it is remembered in the browser tab for ten minutes while you are at the identity provider and applied once when the sign-in returns to this application in that same tab — so a shared conversation's Continue and a reminder e-mail's link both work with single sign-on. If the identity provider sends you back with an error, the remembered page is kept for a retry (by single sign-on or by e-mail code). A round trip that ends in a different tab or app lands on the start view.
Signing in with single sign-on
Single sign-on authenticates existing accounts through the organization's identity provider. It does not create accounts: an identity that does not match an existing account in the tenant is rejected. Single sign-on is offered only when an administrator has enabled it for the tenant and mapped the email domain to it (see Tenants).
Before you begin, ensure the following conditions are met:
- ☑ Your account exists in a tenant that has single sign-on enabled for your email domain.
Proceed as follows to sign in with single sign-on:
- Open the URL
/loginin a web browser. - The email-address form is shown directly (no separate method chooser).
- Enter your email address in the Business email address text field.
- When the email domain has an enabled SSO configuration, the Continue with SSO button appears above the hint or sign in with a one-time code.
- If required, tick the Stay signed in for 30 days on this device check box.
- Click on the Continue with SSO button.
- The browser is redirected to the organization's identity provider.
- Complete the sign-in at the identity provider.
-> The identity provider redirects the browser back, the system creates the session cookie, and the start view opens.
💡 Note: When a domain is configured for both OpenID Connect and SAML, OpenID Connect is used. If SSO is not offered for your domain, continue with the email one-time code instead by clicking on the Request code button.
The identity-provider details, the domain-to-tenant mapping, and the department-to-group mapping are described in the Admin API authentication reference.
Signing out
Proceed as follows to sign out:
- Click on the Log out action in the user-block menu at the bottom of the left sidebar.
-> The session cookie is cleared and the browser is redirected to /login.
💡 Note: For a SAML session, signing out also ends the session at the identity provider (Single Logout) when the identity provider is configured for it. Signing out clears only the current browser's cookie: a session token already issued to another browser or device stays valid until it expires — this is inherent to stateless sessions. (An administrator disabling or deleting the account is different: that ends every session on every device immediately and permanently — see Authentication.)