Groups
Description
A group is a named set of users. Granting access at the group level, rather than per user, keeps access consistent as users join and leave. A group can be granted a role on a knowledge space (project); every member of the group then holds that role. The effective role of a user on a project is the highest of the direct role and the best group grant.
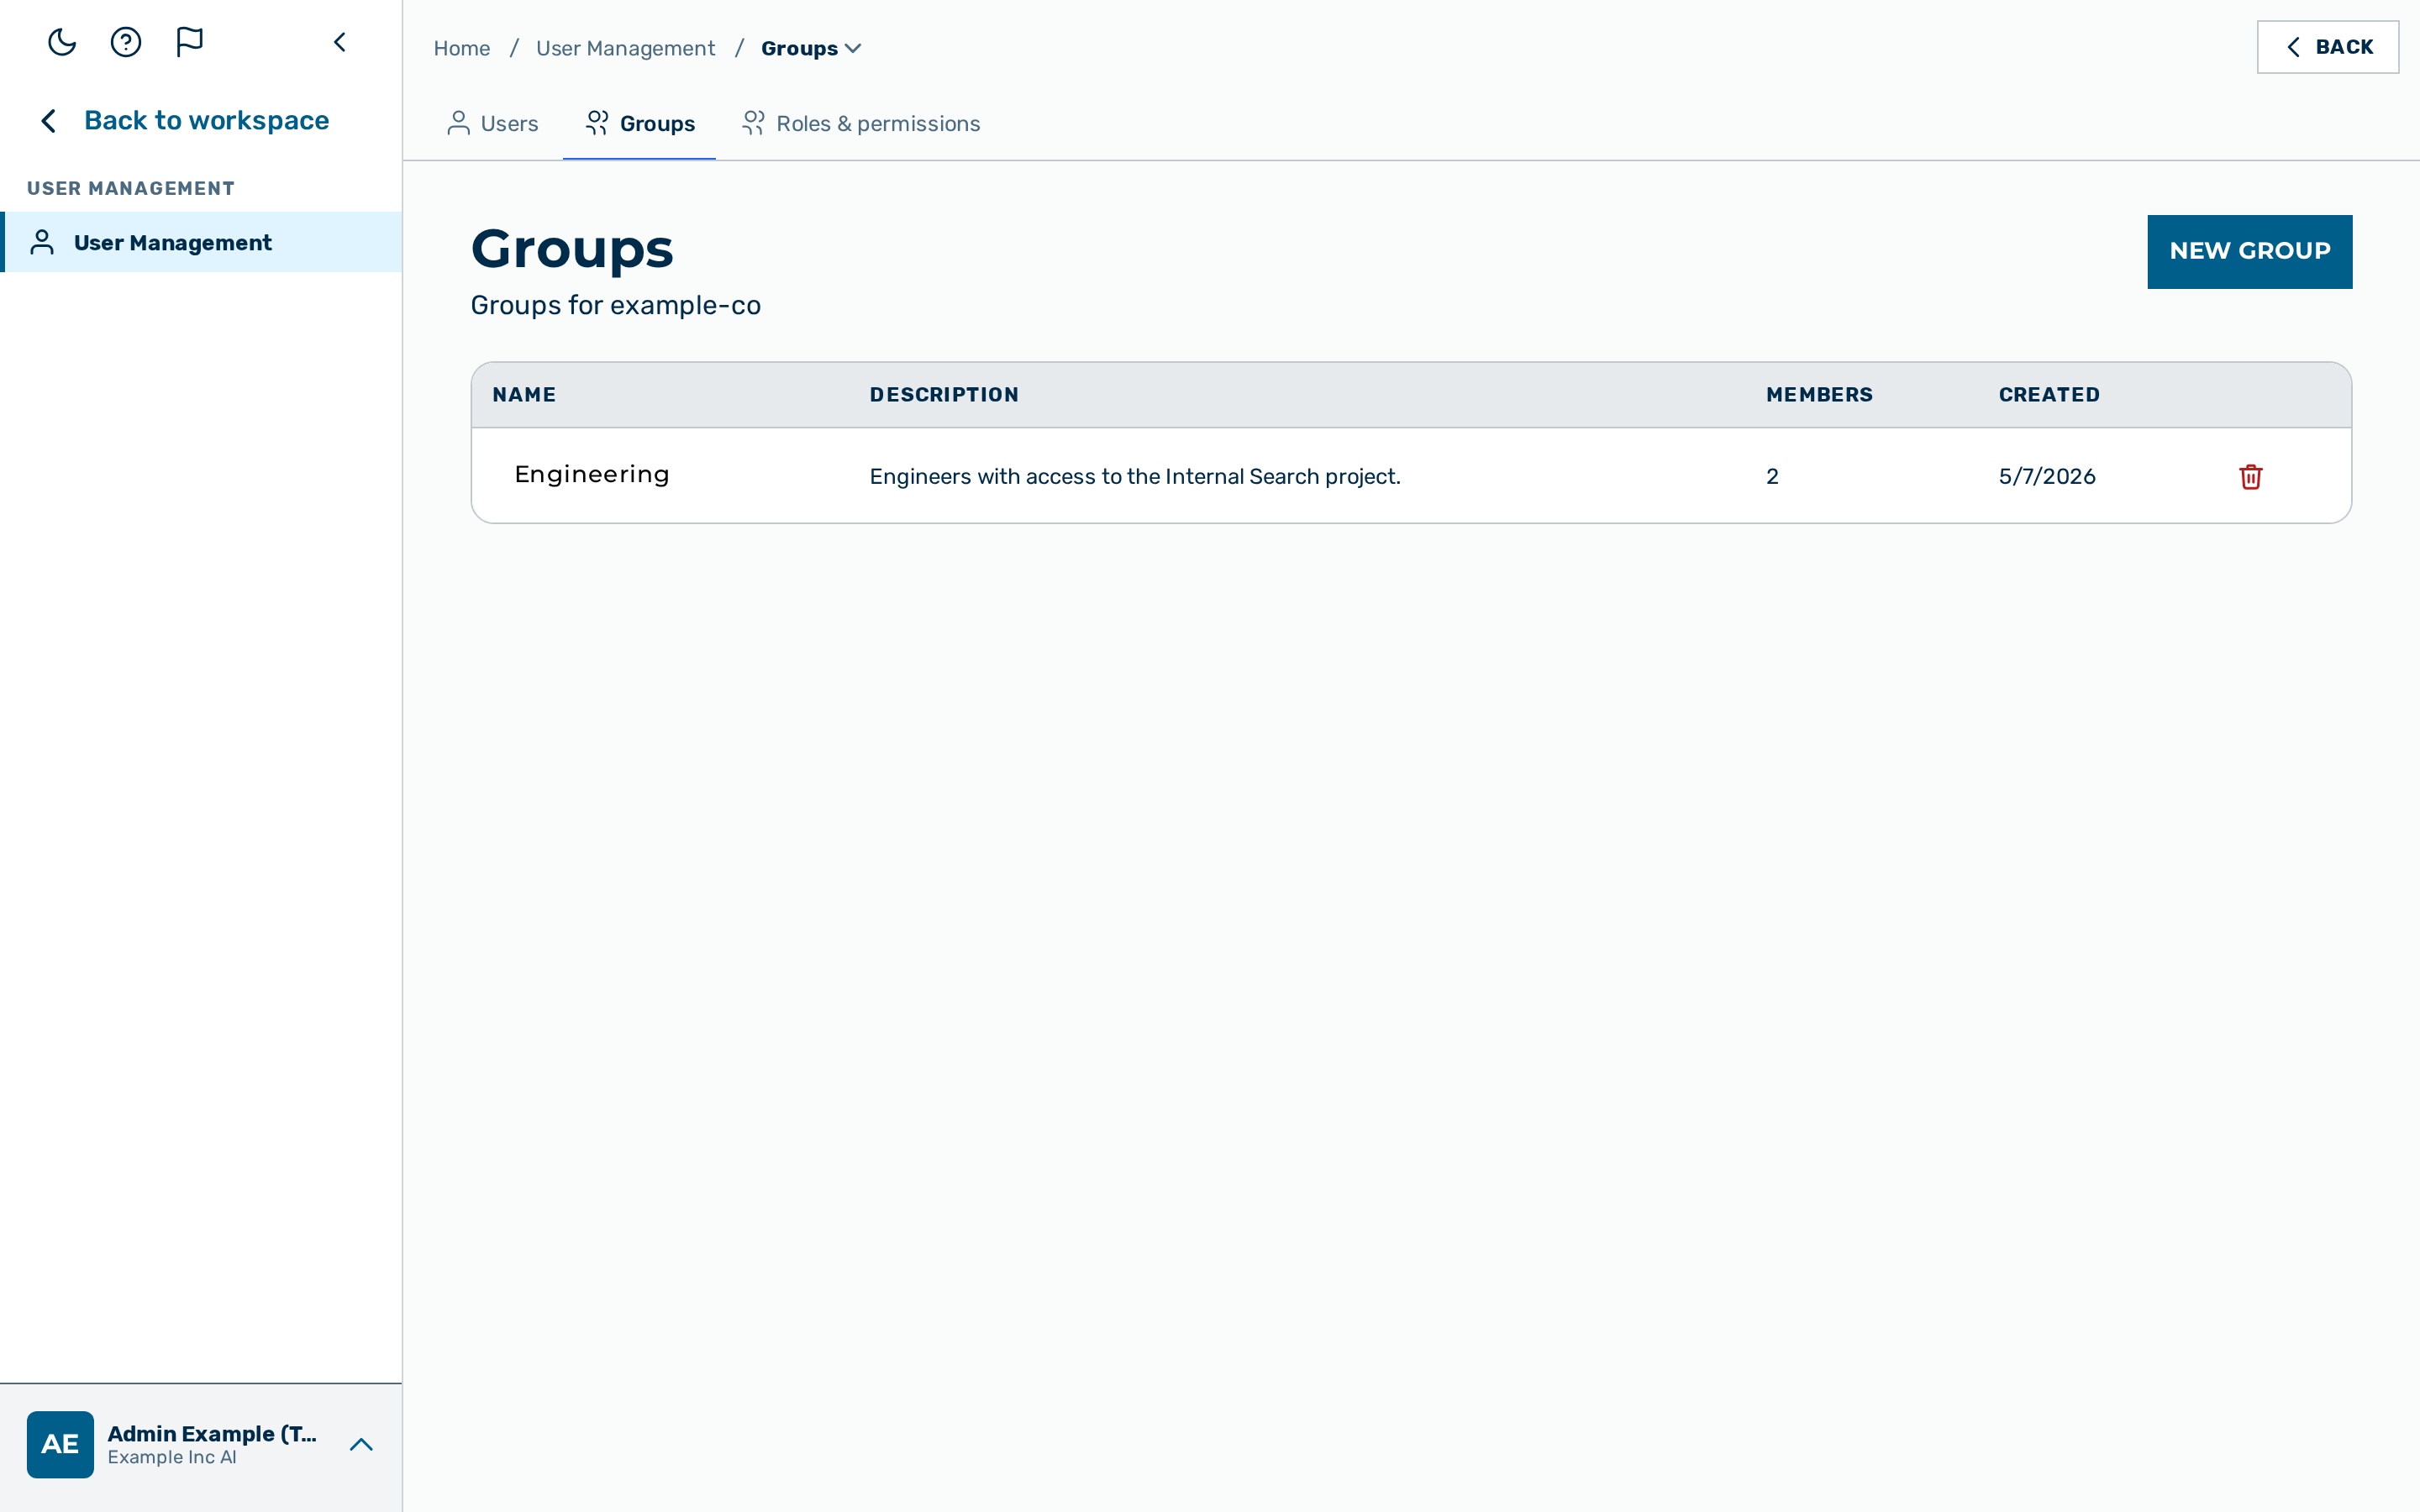
The Groups view is the Groups tab of User Management, reached from the user-block menu at the bottom of the left sidebar → User Management (route /groups unchanged). The view is visible to users with the role tenant admin, admin, or KI-Manager. A tenant admin sees and manages the groups of their own tenant.
A platform administrator additionally sees a tenant drop-down list at the top of the view and selects the tenant to manage before the groups appear.
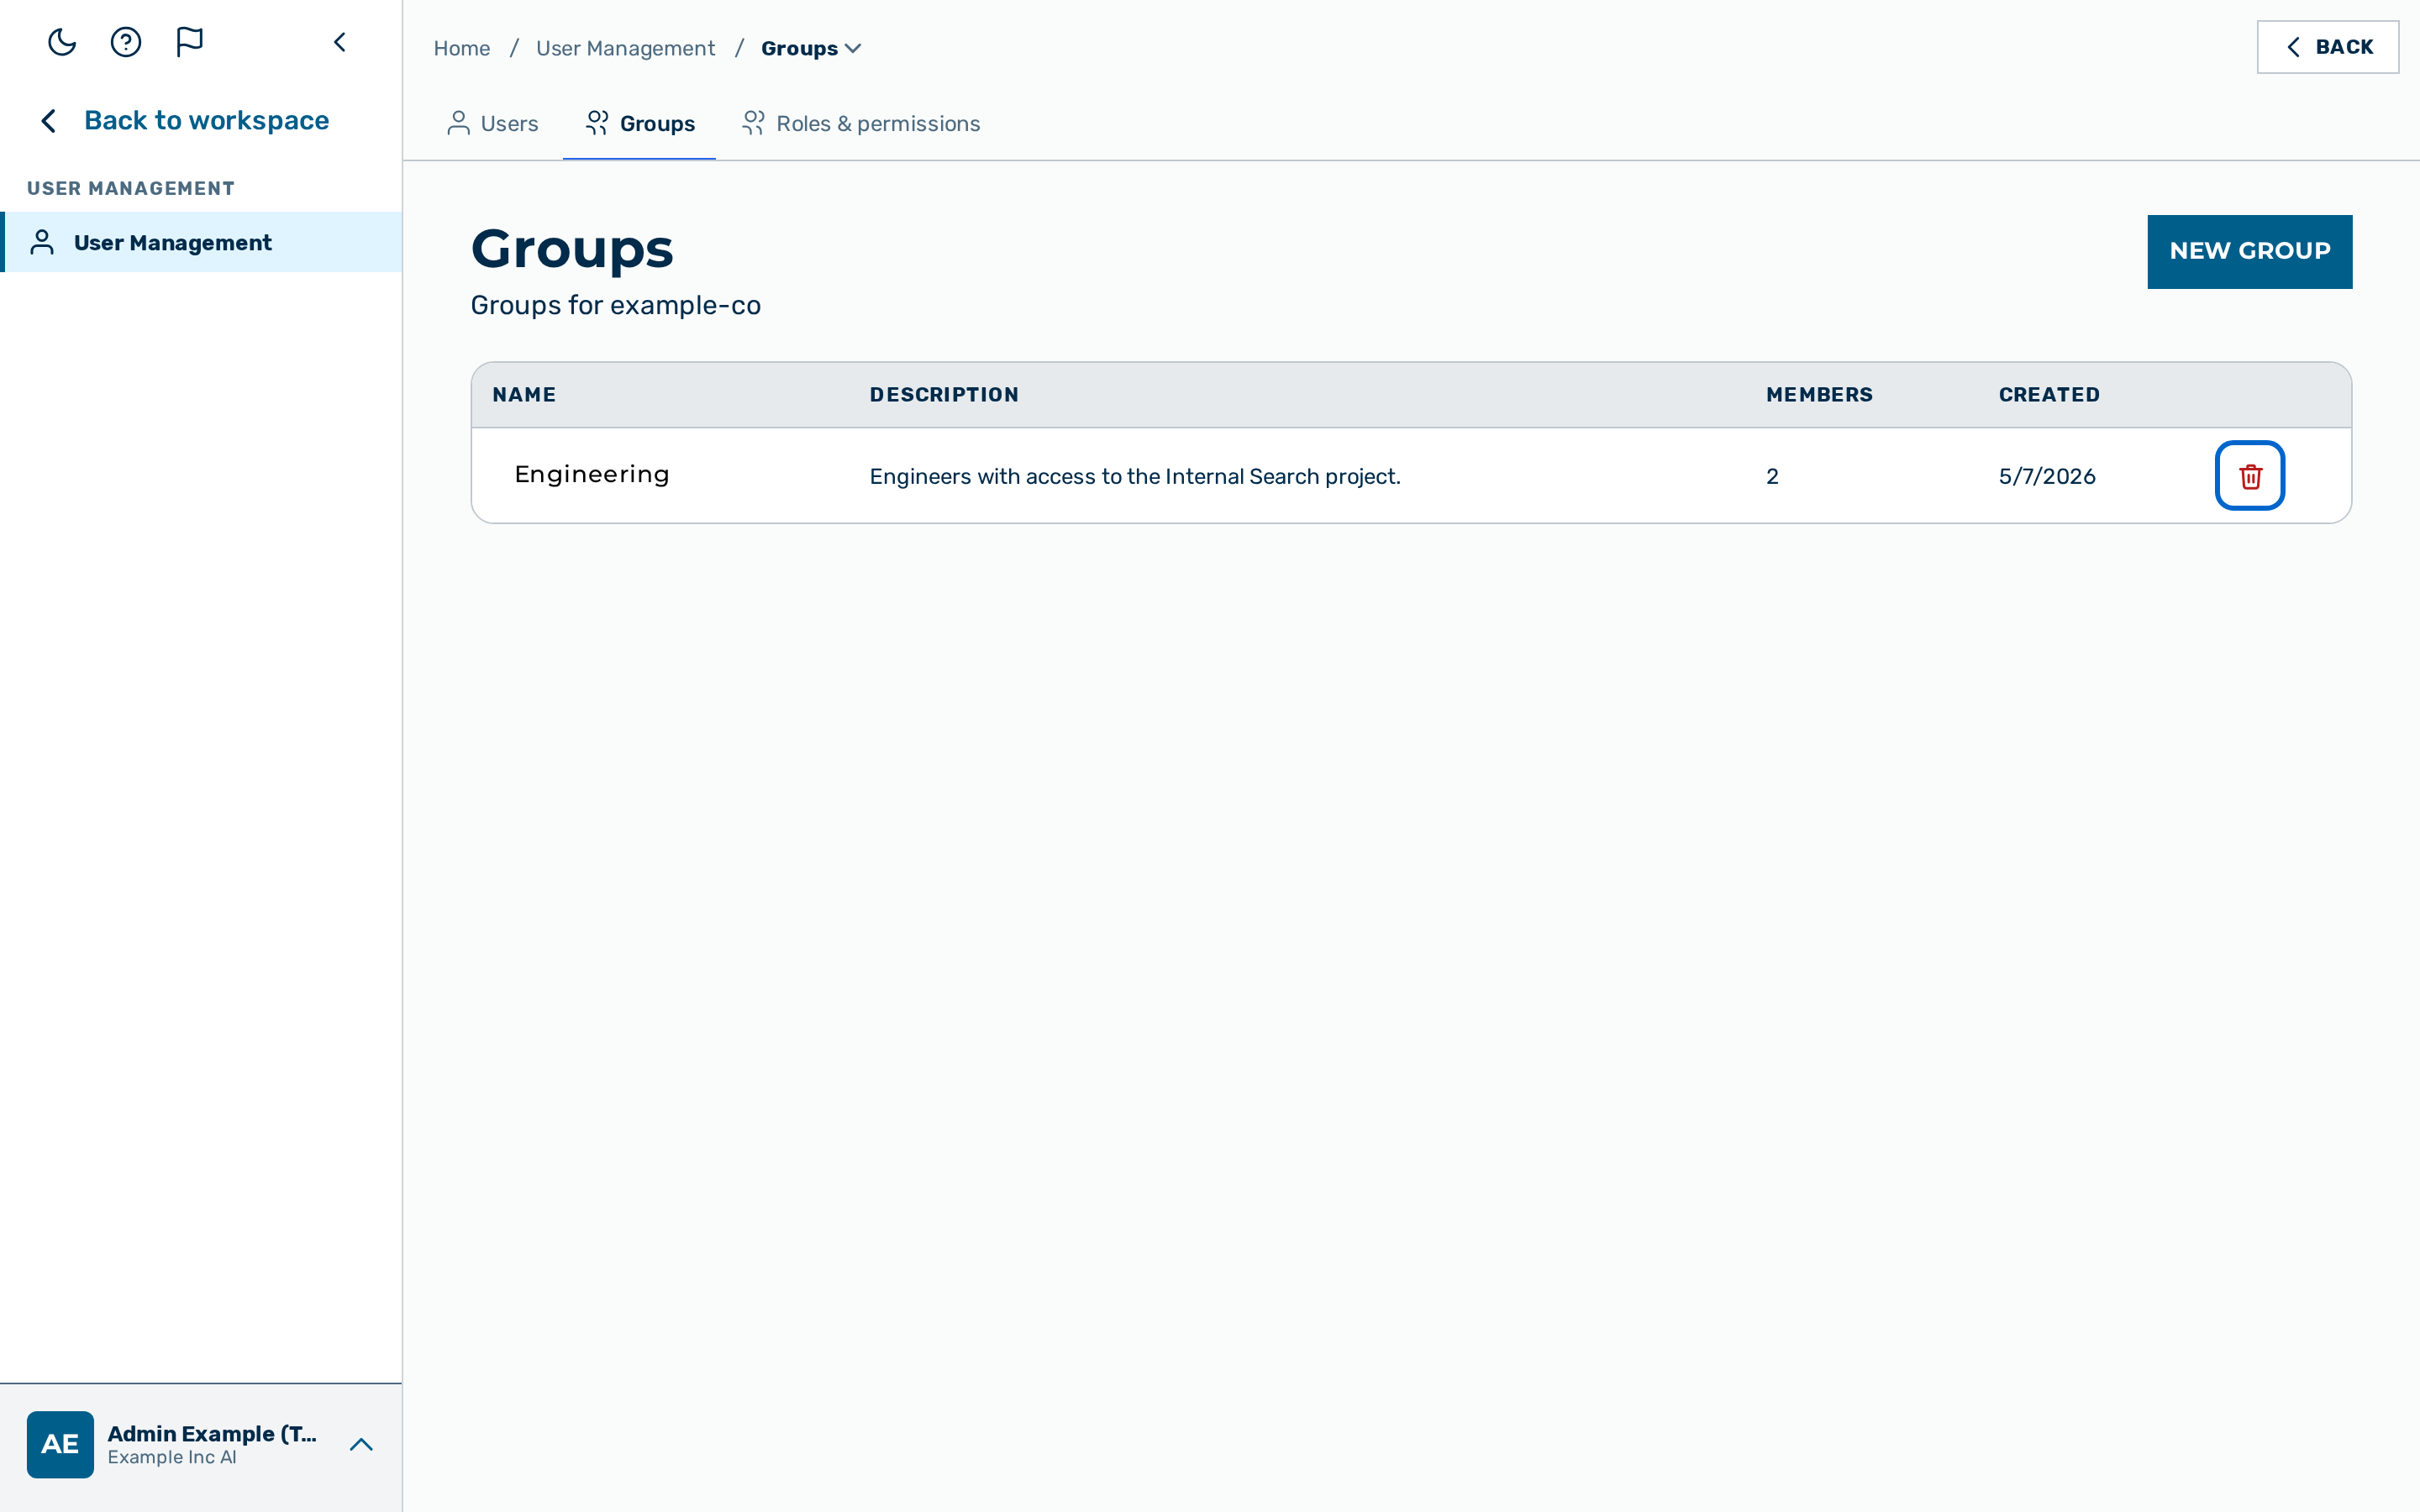
The list shows one row per group with the Name, Description, Members, and Created columns. Clicking the group name opens the group detail dialog, which holds the members and the access grants.
For the underlying endpoints and the full role-to-capability matrix, see Groups API.
Creating a group
Required role: tenant admin, admin, or KI-Manager.
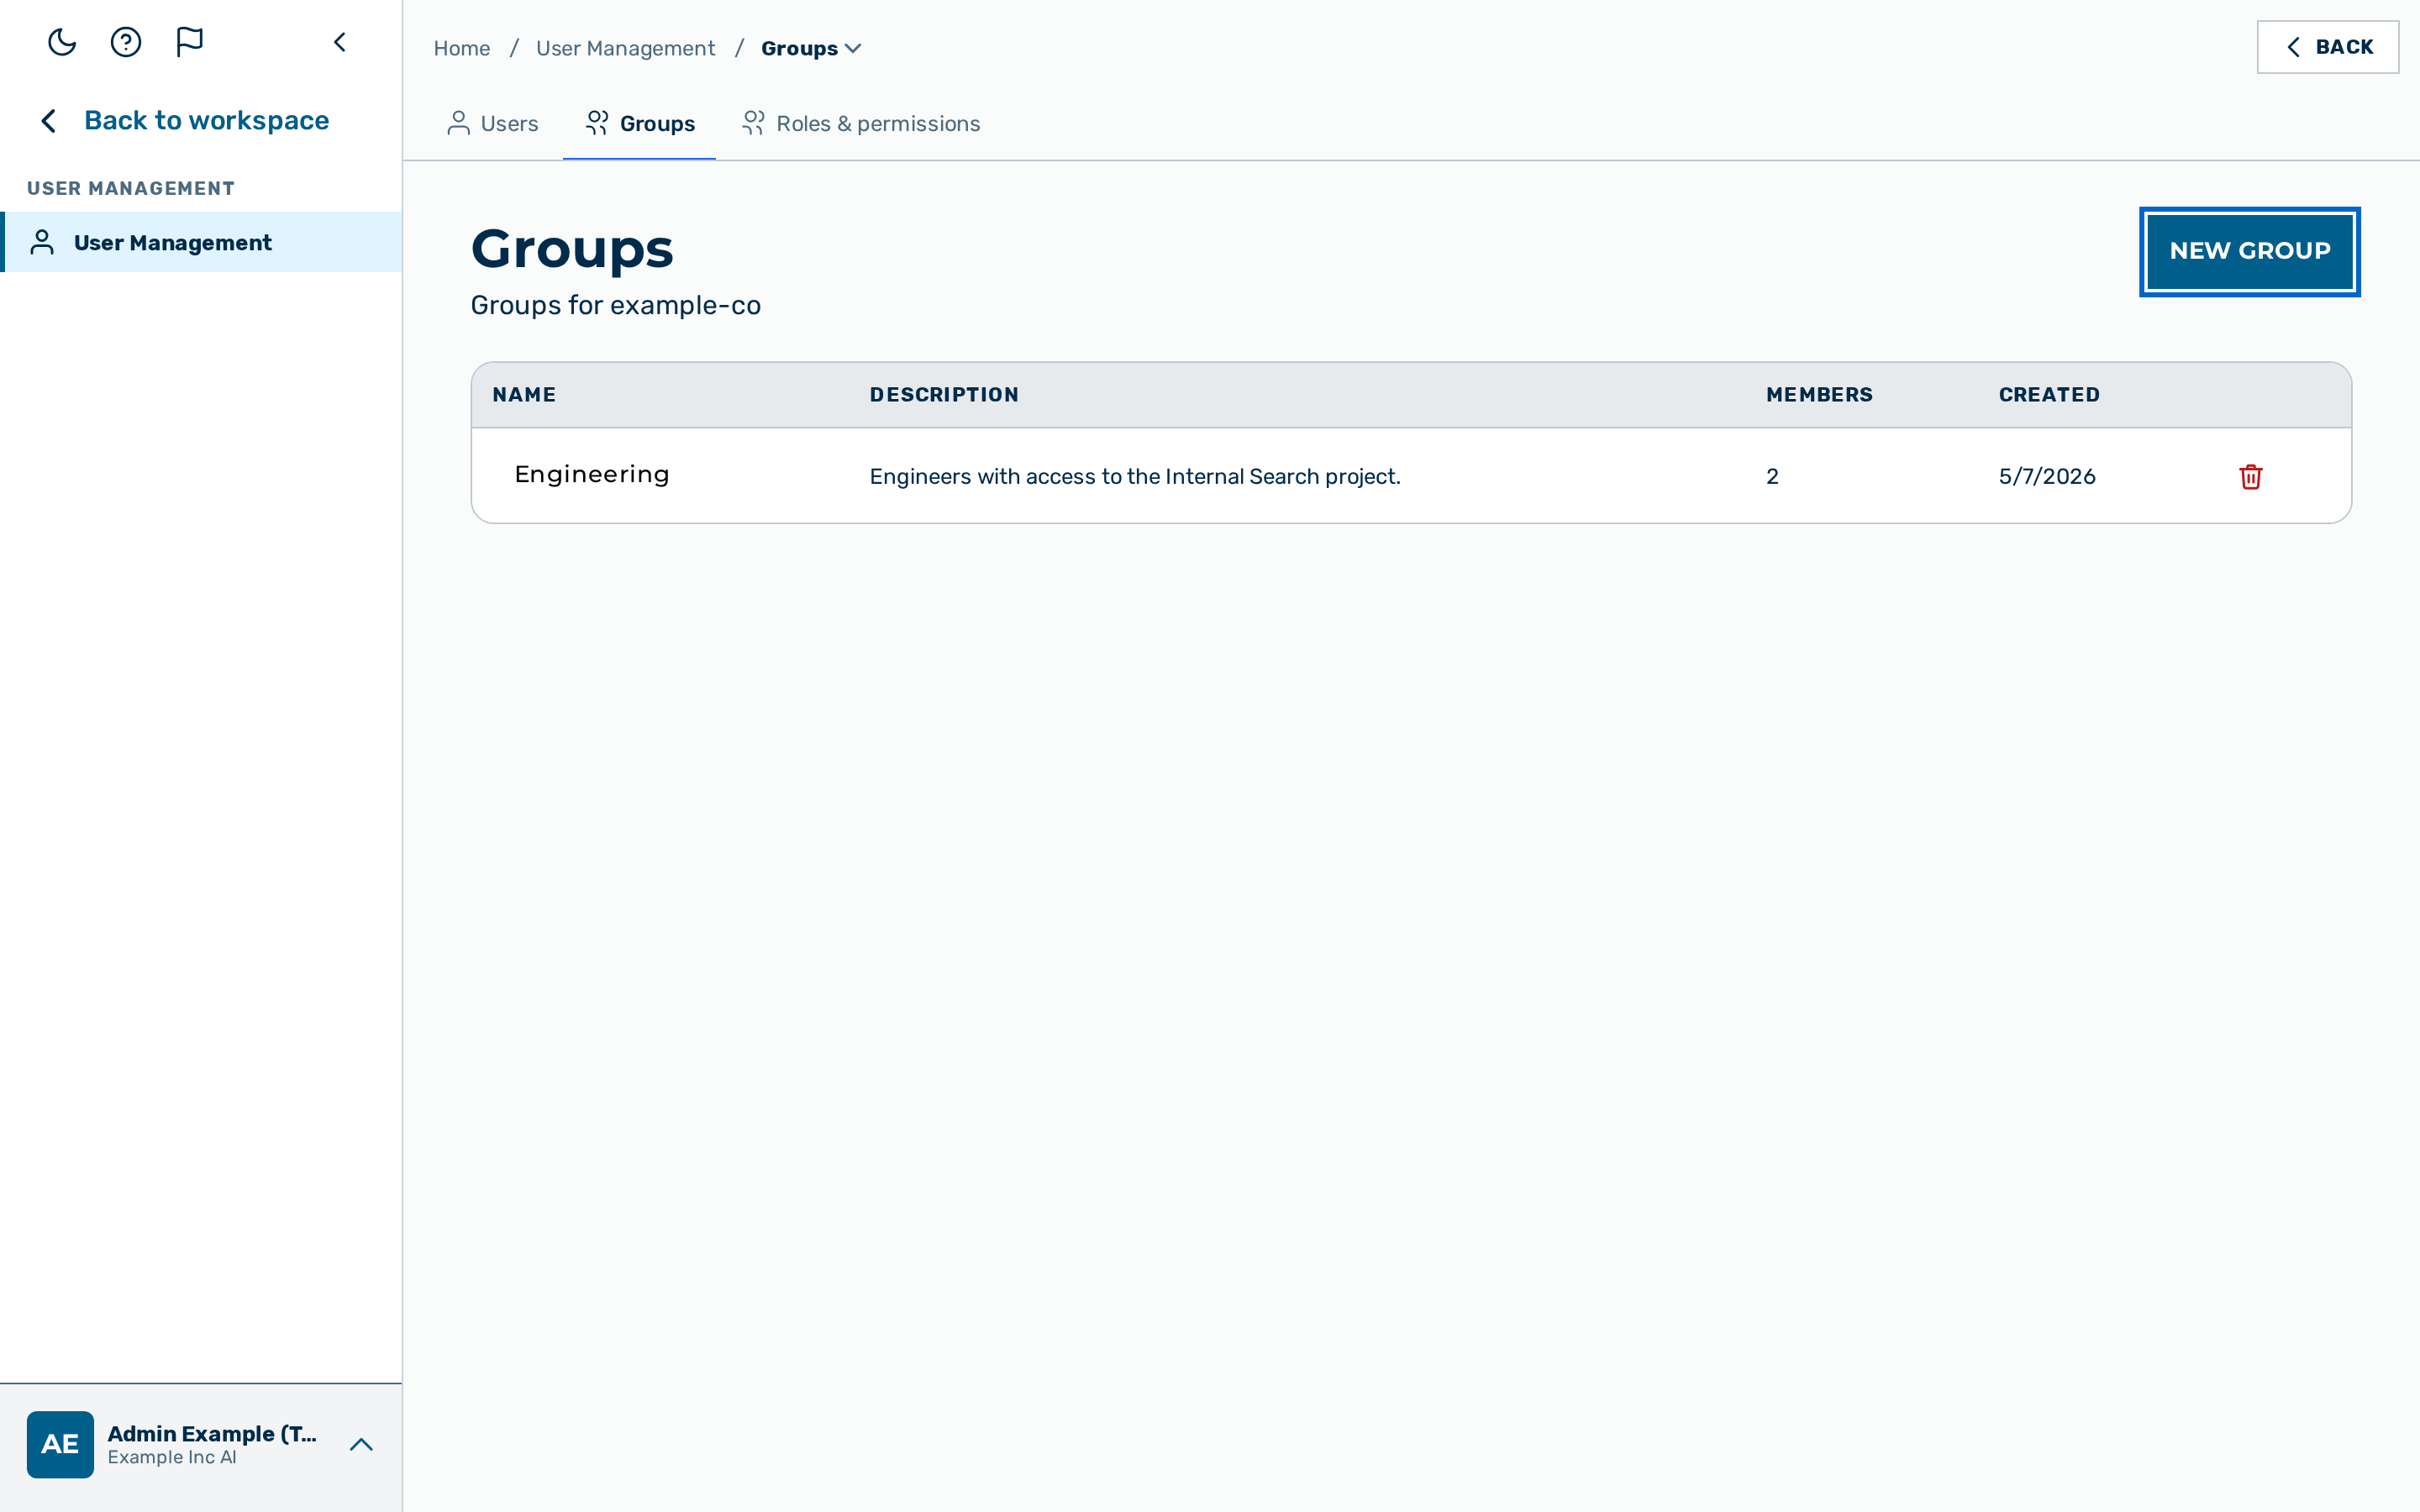 The New group dialog.
Proceed as follows to create a group:
- Click on the New group button.
- The New group dialog opens.
- Enter a value in the Name text field. The name must be unique within the tenant.
- If required, enter a value in the Description text field.
- Click on the Create button.
-> The new group appears in the list. Repeat this process for all required groups.
Editing a group
Required role: tenant admin or admin, or the KI-Manager who created the group.
The group detail dialog holds the group details, the members, and the access grants. Open the dialog to change any of them.
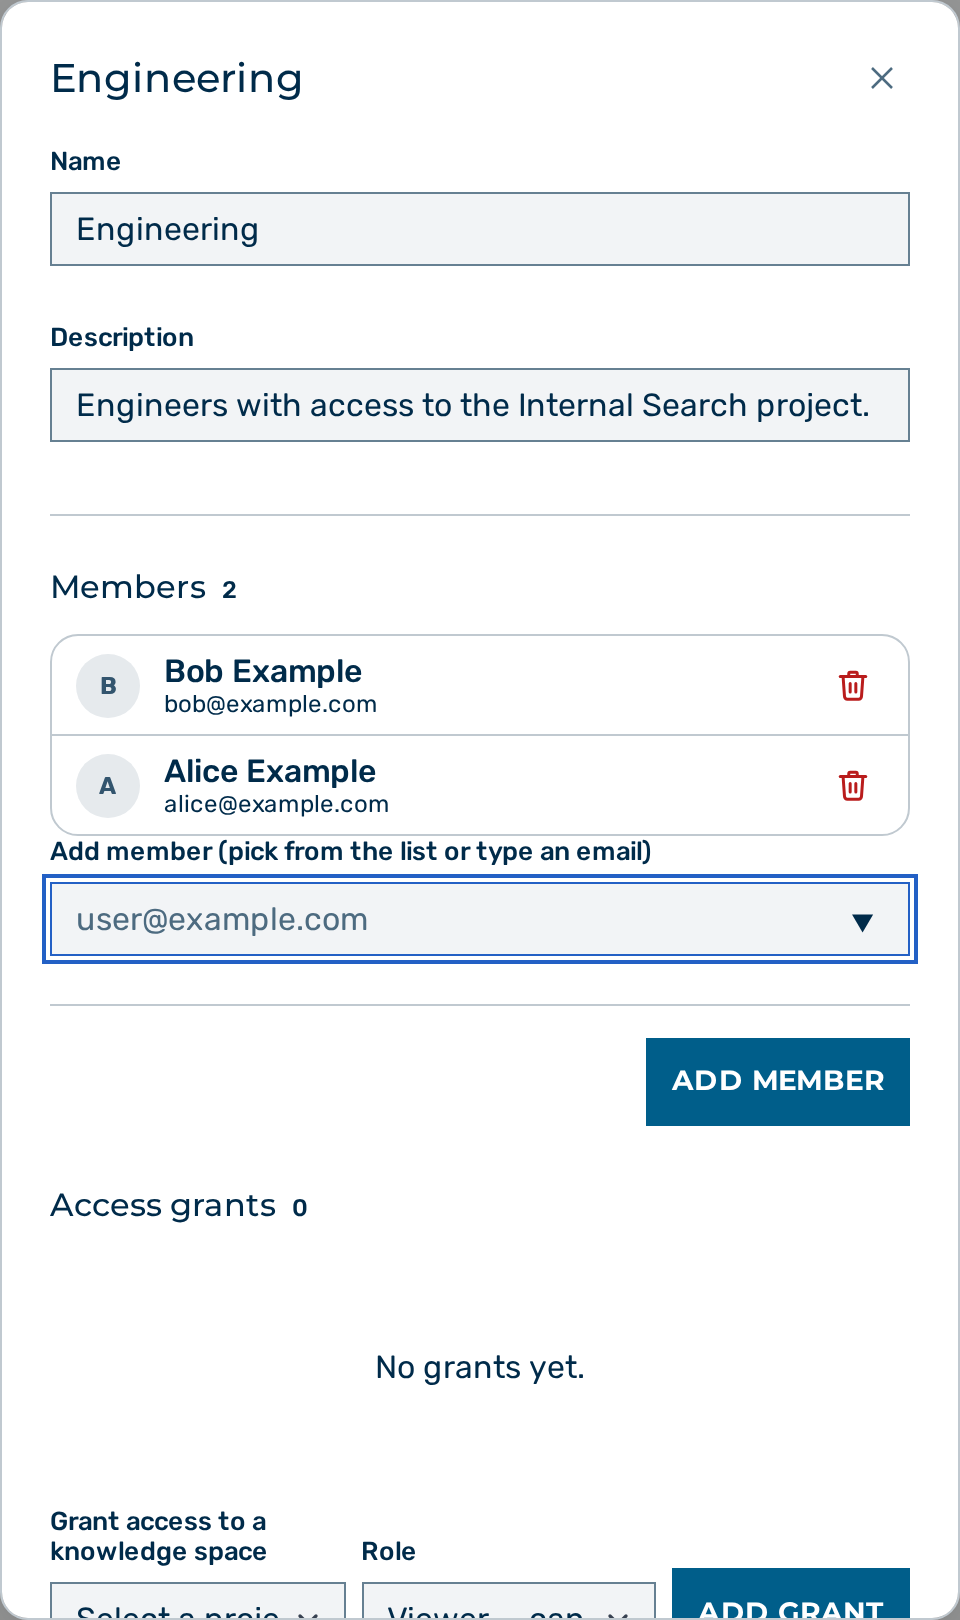 The group detail dialog.
Editing group details
Proceed as follows to edit the group details:
- Click on the group name in the list.
- The group detail dialog opens.
- Update the Name text field or the Description text field as required.
- A Save button appears when a value changes.
- Click on the Save button.
-> The updated group details are saved.
Adding a member
The member picker offers the users of the tenant who are not already members. Pick a user from the browsable list, or type an email address to add a user who is not offered. Soft-deleted users and platform administrators are never offered.
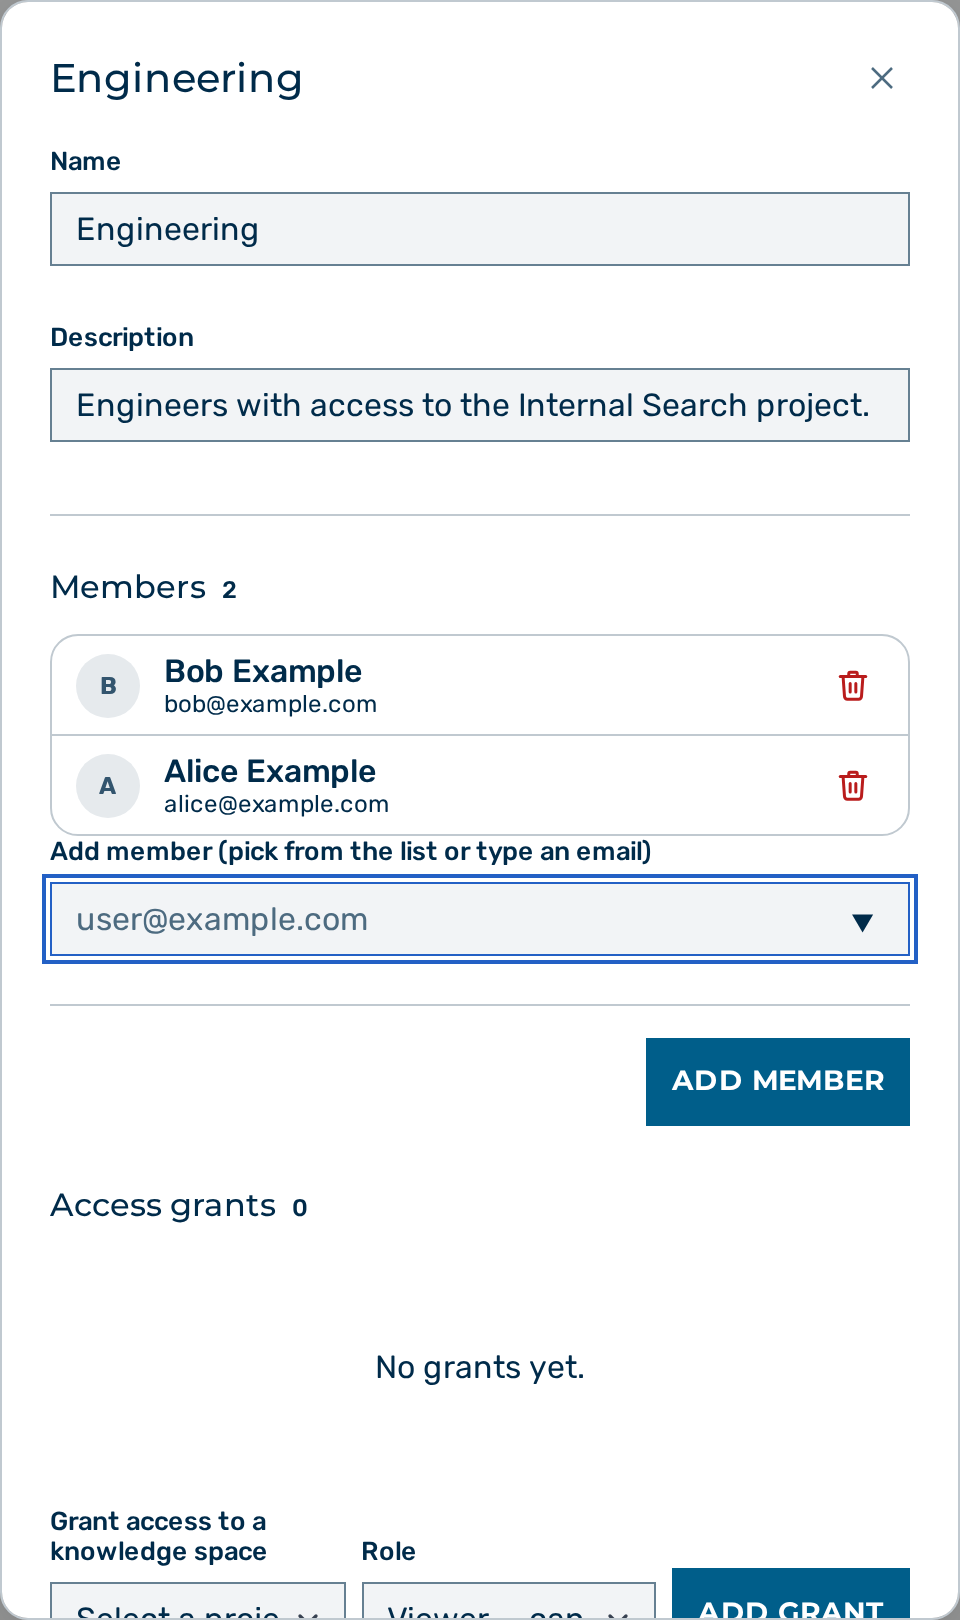 The add-member picker in the group detail dialog.
Proceed as follows to add a member:
- Open the group detail dialog.
- Select a user from the Add member list, or enter an email address in the field.
- Click on the Add member button.
-> The user appears in the Members section. Repeat this process for all required members.
Removing a member
Proceed as follows to remove a member:
- Open the group detail dialog.
- Locate the user in the Members section.
- Click on the Remove button on the member row.
- A confirmation dialog opens with the message Remove
from this group? They lose the access this group grants. - Confirm the removal.
-> The user is removed from the Members section. The access derived from the group is revoked immediately; a higher direct role of the user is not affected.
Granting project access
A grant gives every member of the group a role on a knowledge space (project). Granting access requires ownership of the project, or the tenant admin or admin role.
Proceed as follows to grant project access:
- Open the group detail dialog.
- Select a project in the Grant access to a knowledge space drop-down list.
- Select a role in the Role drop-down list. The available roles are Viewer — can read, but not edit, Editor — can add knowledge files, and Owner — full control.
- Click on the Add grant button.
-> The grant appears in the Access grants section. Every member of the group holds the granted role on the project.
Revoking project access
Proceed as follows to revoke project access:
- Open the group detail dialog.
- Locate the grant in the Access grants section.
- Click on the Remove button on the grant row.
- A confirmation dialog opens with the message Revoke this group's access to
? Every member of the group loses it. - Confirm the revocation.
-> The grant is removed. The access derived from the grant is revoked immediately.
Deleting a group
Required role: tenant admin or admin, or the KI-Manager who created the group.
⚠️ Caution: Deleting a group removes its memberships and its access grants. Every member loses the access that the group's grants conferred. The action cannot be undone.
 The delete-group confirmation dialog.
Proceed as follows to delete a group:
- Click on the Delete button on the group row.
- A confirmation dialog opens.
- Confirm the deletion.
-> The group is removed from the list.
Scoping for the KI-Manager role
A KI-Manager is the role between member and tenant admin. A KI-Manager may create groups and read every group in the tenant, but may edit, delete, and change the membership of only the groups the KI-Manager created. A group that a KI-Manager did not create is read-only for that KI-Manager. A tenant admin and a platform admin manage every group in scope.
💡 Note: Because a KI-Manager who manages a group can browse the add-member list, that list exposes the tenant's non-admin users (email and name) to the KI-Manager. This is the intended consequence of a browsable member picker within the tenant.