Feedback review
The Feedback group lives in the Overview cluster and has up to three tabs by role:
- Inbox (
/feedback, admin) — bug reports, feature suggestions, other comments, and Contact Support requests submitted via the in-app feedback widget. - Sessions (
/chat-feedback, admin) — per-conversation 1-to-5 ratings (5 = best, 1 = worst) with optional comments. - Reports (
/reports, tenant admin) — the content-report review queue (see Reports).
Feedback Inbox
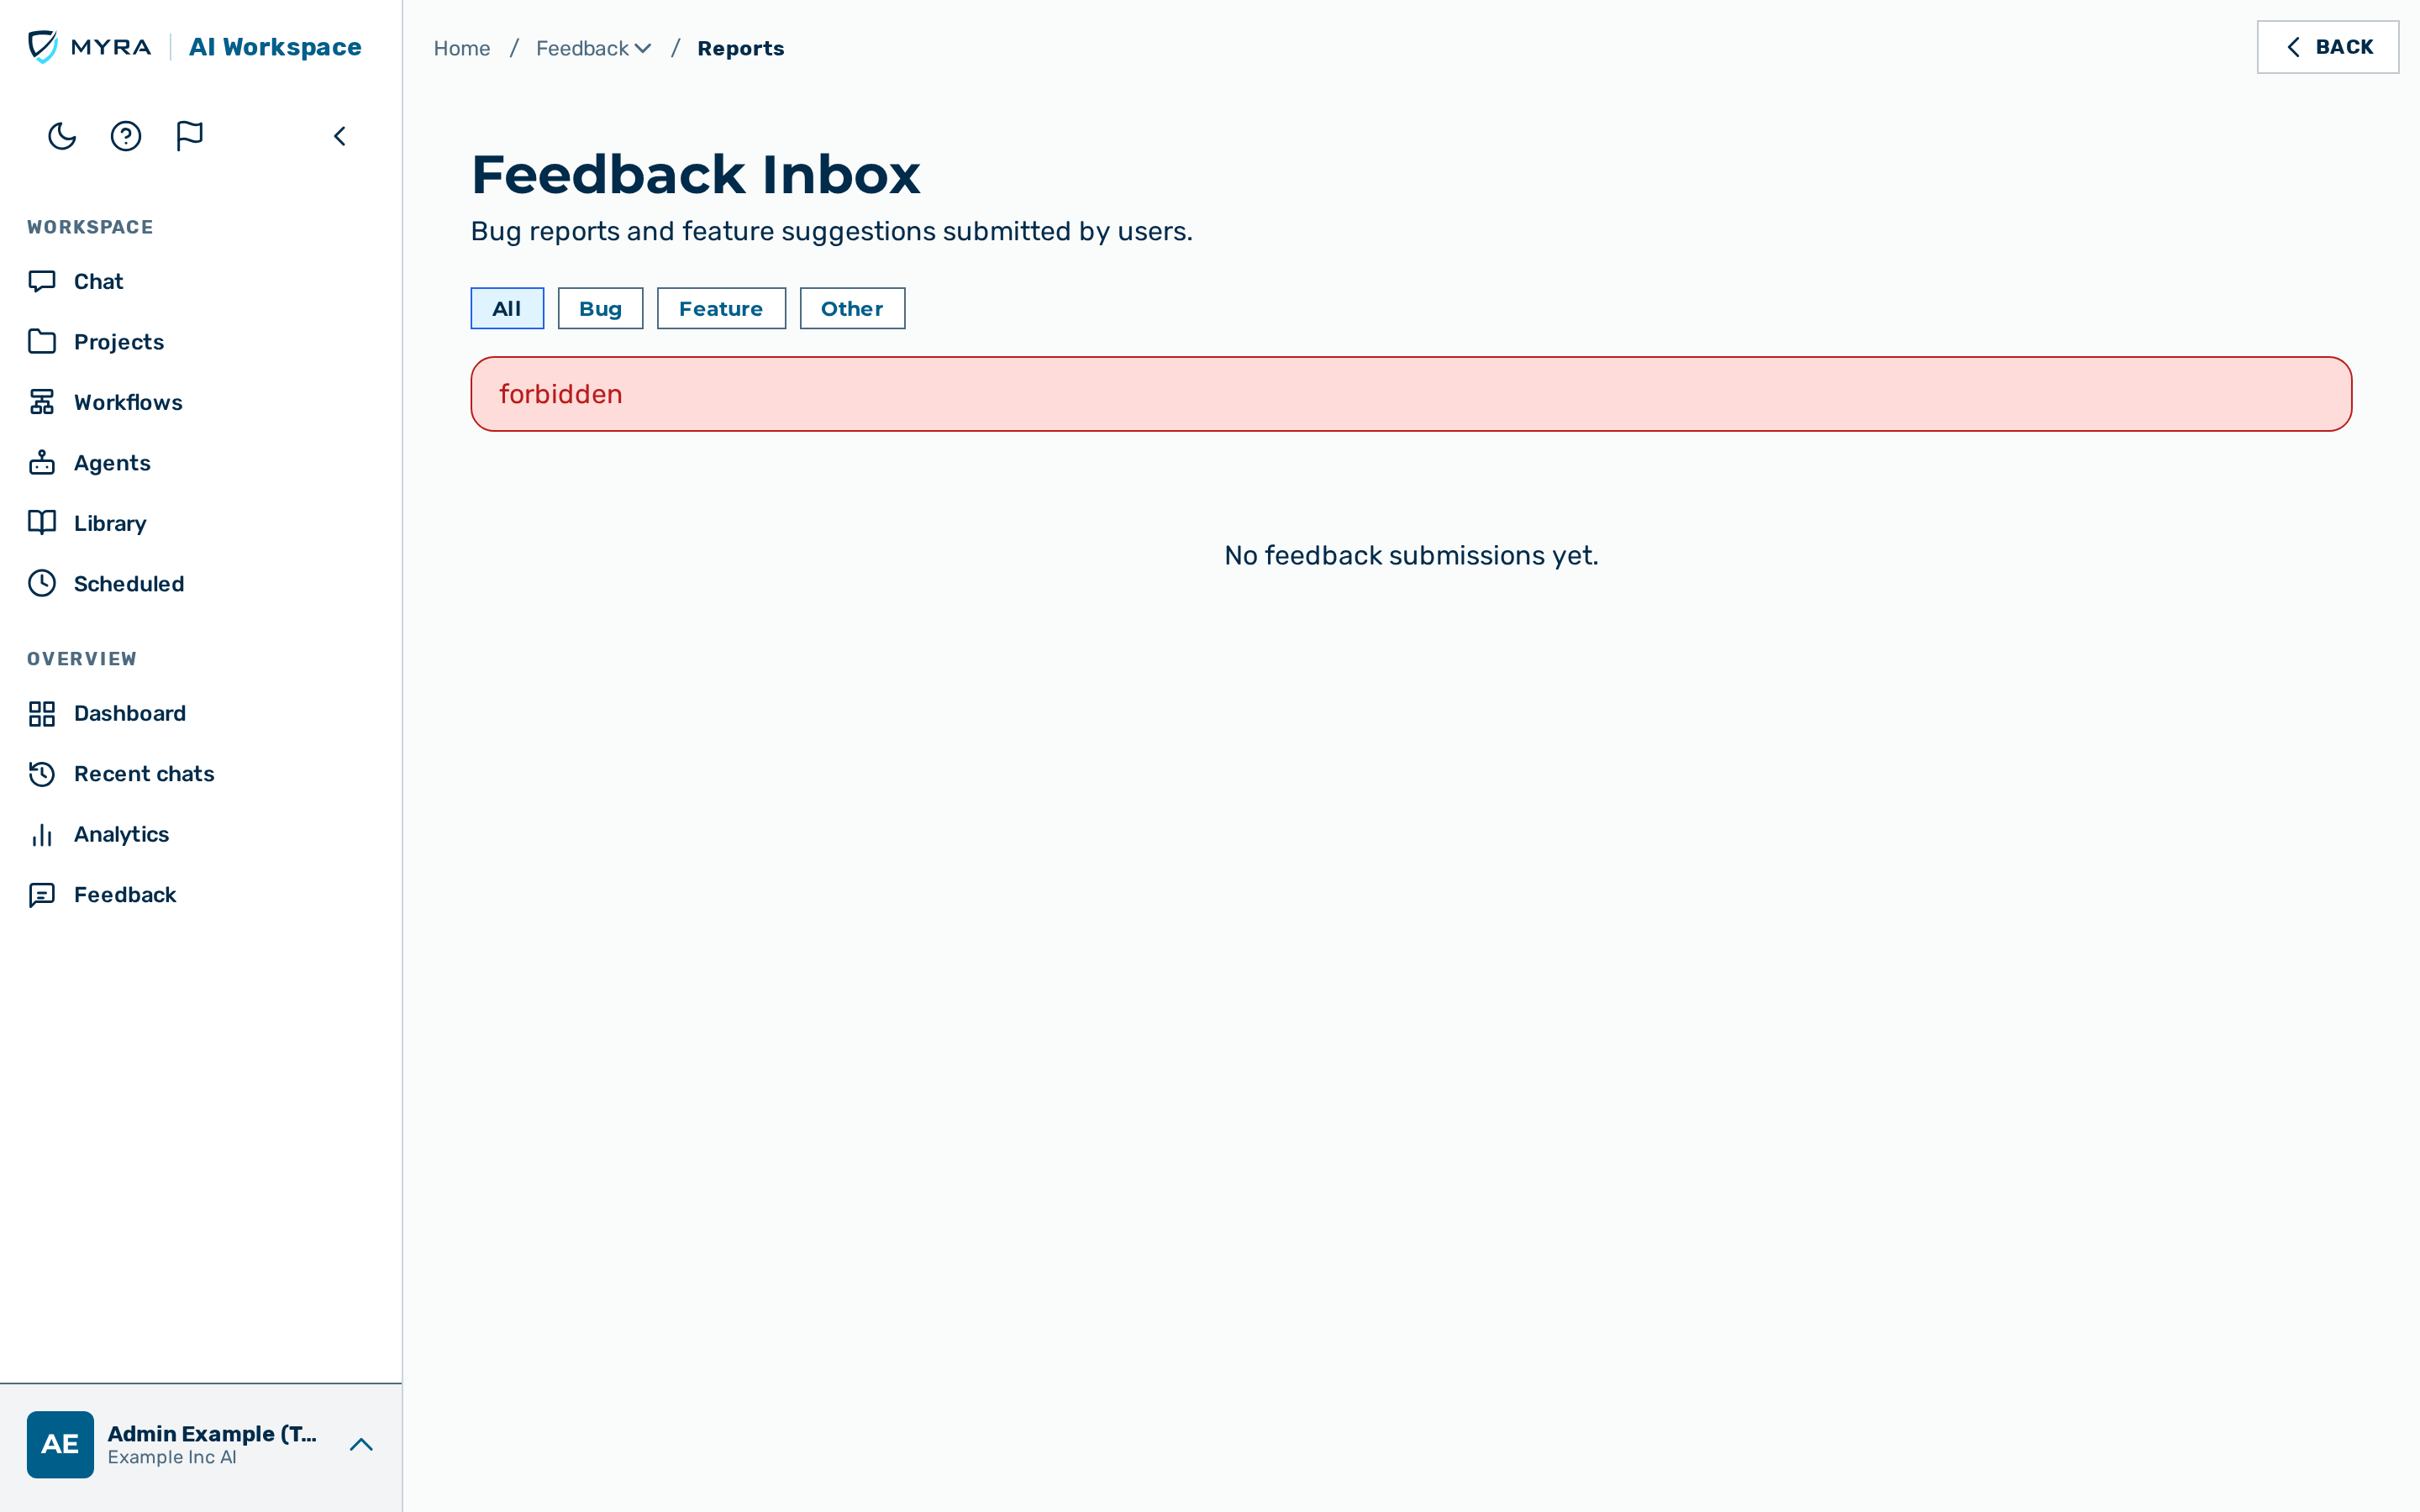
Description
The Feedback Inbox view lists every entry submitted through the in-app feedback widget. The view is reachable via the direct URL /feedback.
The page header shows the heading Feedback Inbox plus a badge with the number of unprocessed entries.
The filter row above the table contains five buttons:
- All — every entry, regardless of type.
- Bug — entries flagged as bug reports.
- Feature — entries flagged as feature requests.
- Other — every other entry.
- Support — Contact Support requests. These were also emailed to Myra support when they were submitted, but this inbox is the durable record: if that email failed to send, the request is still here. See Contact Support.
The table lists five columns:
- Date — the submission timestamp.
- Type — a coloured badge indicating Bug, Feature, Other, or Support.
- Summary — the short summary submitted by the user.
- User — the email address of the submitting user, when available.
- Processed — a toggle button labelled Mark as processed or Mark as unprocessed.
Clicking on a row expands a detail panel showing the full description text, the URL of the page from which the feedback was submitted (when present), and any evidence screenshots the user attached — the widget accepts up to six PNG/JPEG images (by paste or file picker), rendered here as click-to-enlarge thumbnails.
Marking an entry as processed
Proceed as follows to mark an entry as processed:
- Locate the entry in the list.
- Click on the Mark as processed button in the Processed column.
- The button label changes to Mark as unprocessed and the row is dimmed.
-> The unprocessed counter on the page heading decreases by one.
Reverting the processed flag
Proceed as follows to mark a processed entry as unprocessed again:
- Locate the entry. The button reads Done.
- Click on the Done button.
-> The button reverts to Mark done and the entry counts as unprocessed again.
Session Feedback
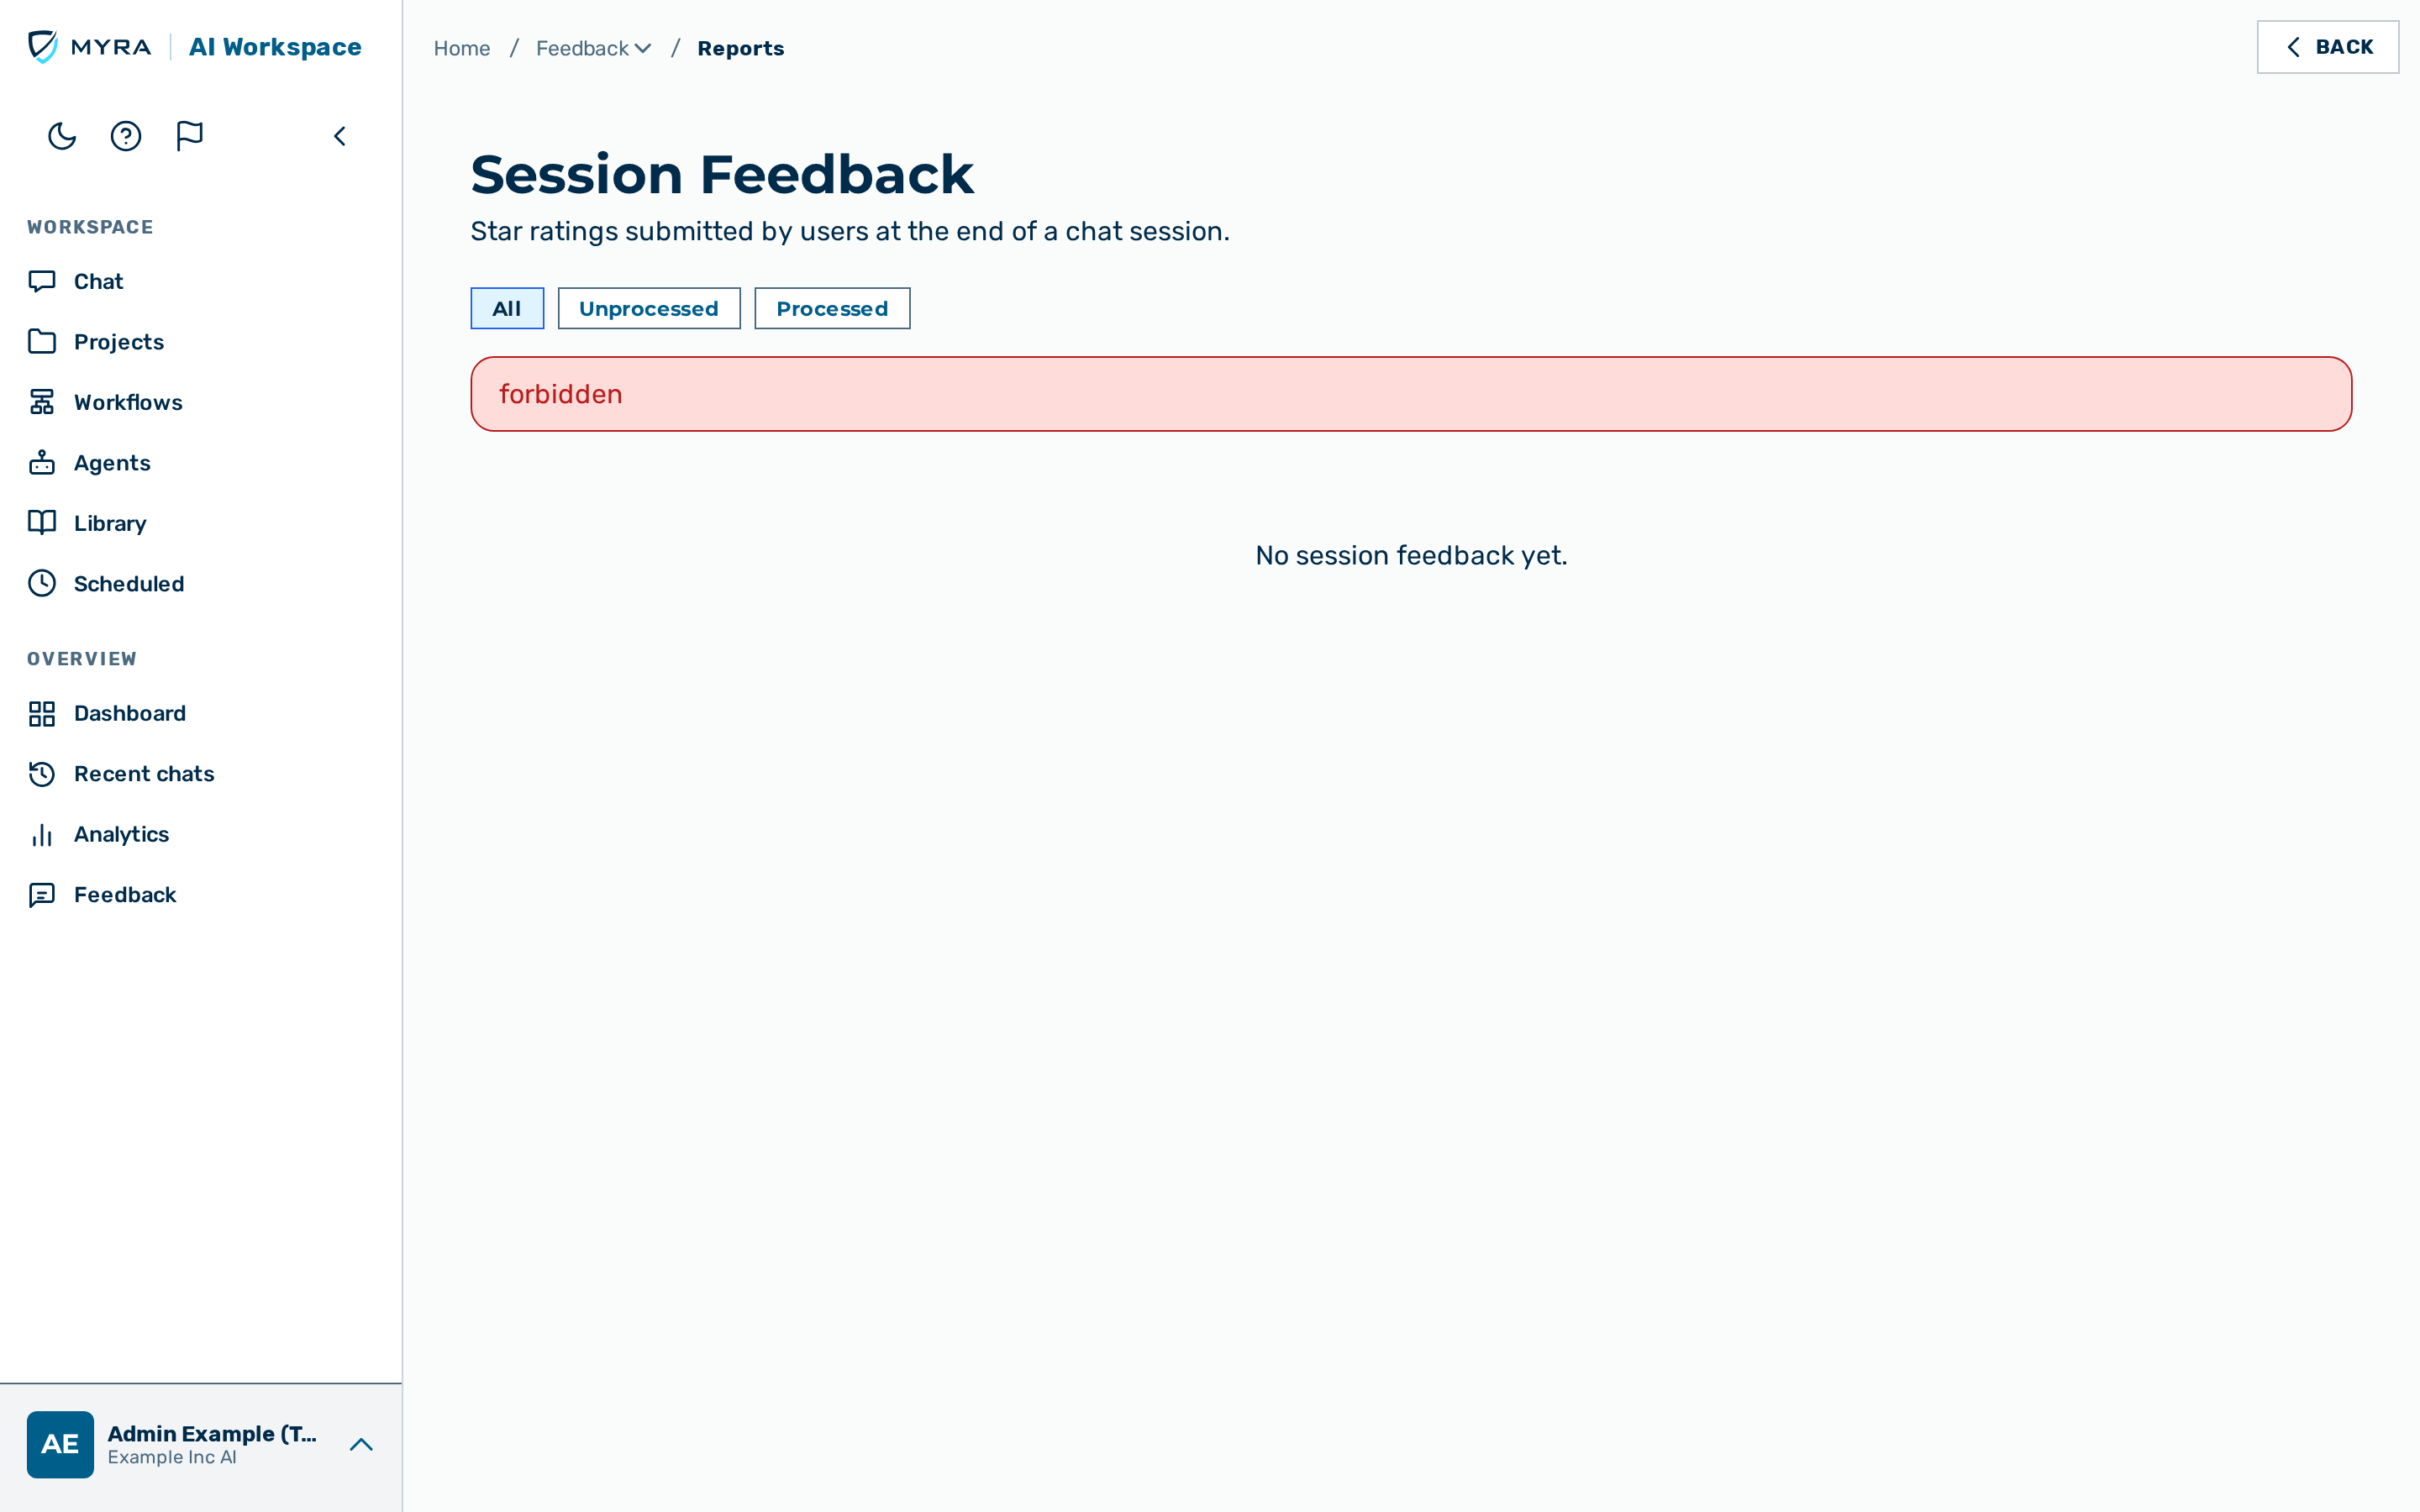
Description
The Session Feedback view lists every per-conversation rating submitted by users. The view is reachable via the direct URL /chat-feedback.
The page header shows the heading Session Feedback plus a badge with the number of unprocessed entries.
The filter row contains three buttons: All, Unprocessed, Processed.
The entries are listed in a table with six columns:
- Date — the submission timestamp.
- Project — the optional project the conversation belongs to.
- User — the email address of the conversation owner.
- Rating — the rating value from 1 to 5 (5 = best, 1 = worst), shown as a numeric badge.
- Comment — the optional comment.
- Processed — a Mark done / Done toggle.
Filtering by processed state
Proceed as follows to show only unprocessed ratings:
- Click on the Unprocessed filter button.
-> The list shows only ratings that have not yet been marked as processed.
Marking a rating as processed
Proceed as follows to mark a rating as processed:
- Locate the entry in the list.
- Click on the Mark done button.
-> The button changes to Done and the unprocessed counter decreases by one.
Viewing your own feedback
Every user. The My feedback view at the URL /my-feedback lets any signed-in user track the feedback they submitted through the in-app widget — the two inboxes above are for administrators only.
The view lists each submission with its category, a status badge, and a short reference. The reference is the same one shown in the acknowledgment the moment the feedback is submitted, so a user can quote it later. A submission moves through a status timeline — received, then triaged, then responded or escalated — and the view updates the status without a manual reload while the browser tab is open. When an automated response is available, the view shows it with the response date.