Quick start
💡 Note: This guide is for administrators and developers setting up the gateway and sending API requests. If you only want to chat, see Chat instead.
This guide takes you from first login to a working inference request. Complete the Getting access steps before you begin.
Before you begin, ensure the following conditions are met:
- ☑ You have logged in to the admin UI at
https://<your-gateway-host>/. - ☑ You have your provider API key (for example, an OpenAI API key) to hand.
Creating a tenant
Proceed as follows to create a tenant:
- Open User Management › Tenants (user-block menu at the bottom of the left sidebar → User Management → Tenants; admin only).
- Click on the + New Tenant button.
- The New Tenant dialog opens.
- Enter a value in the Slug field. For example:
myapp. - Click on the Create Tenant button.
-> The new tenant appears in the list of tenants.
Creating a gateway
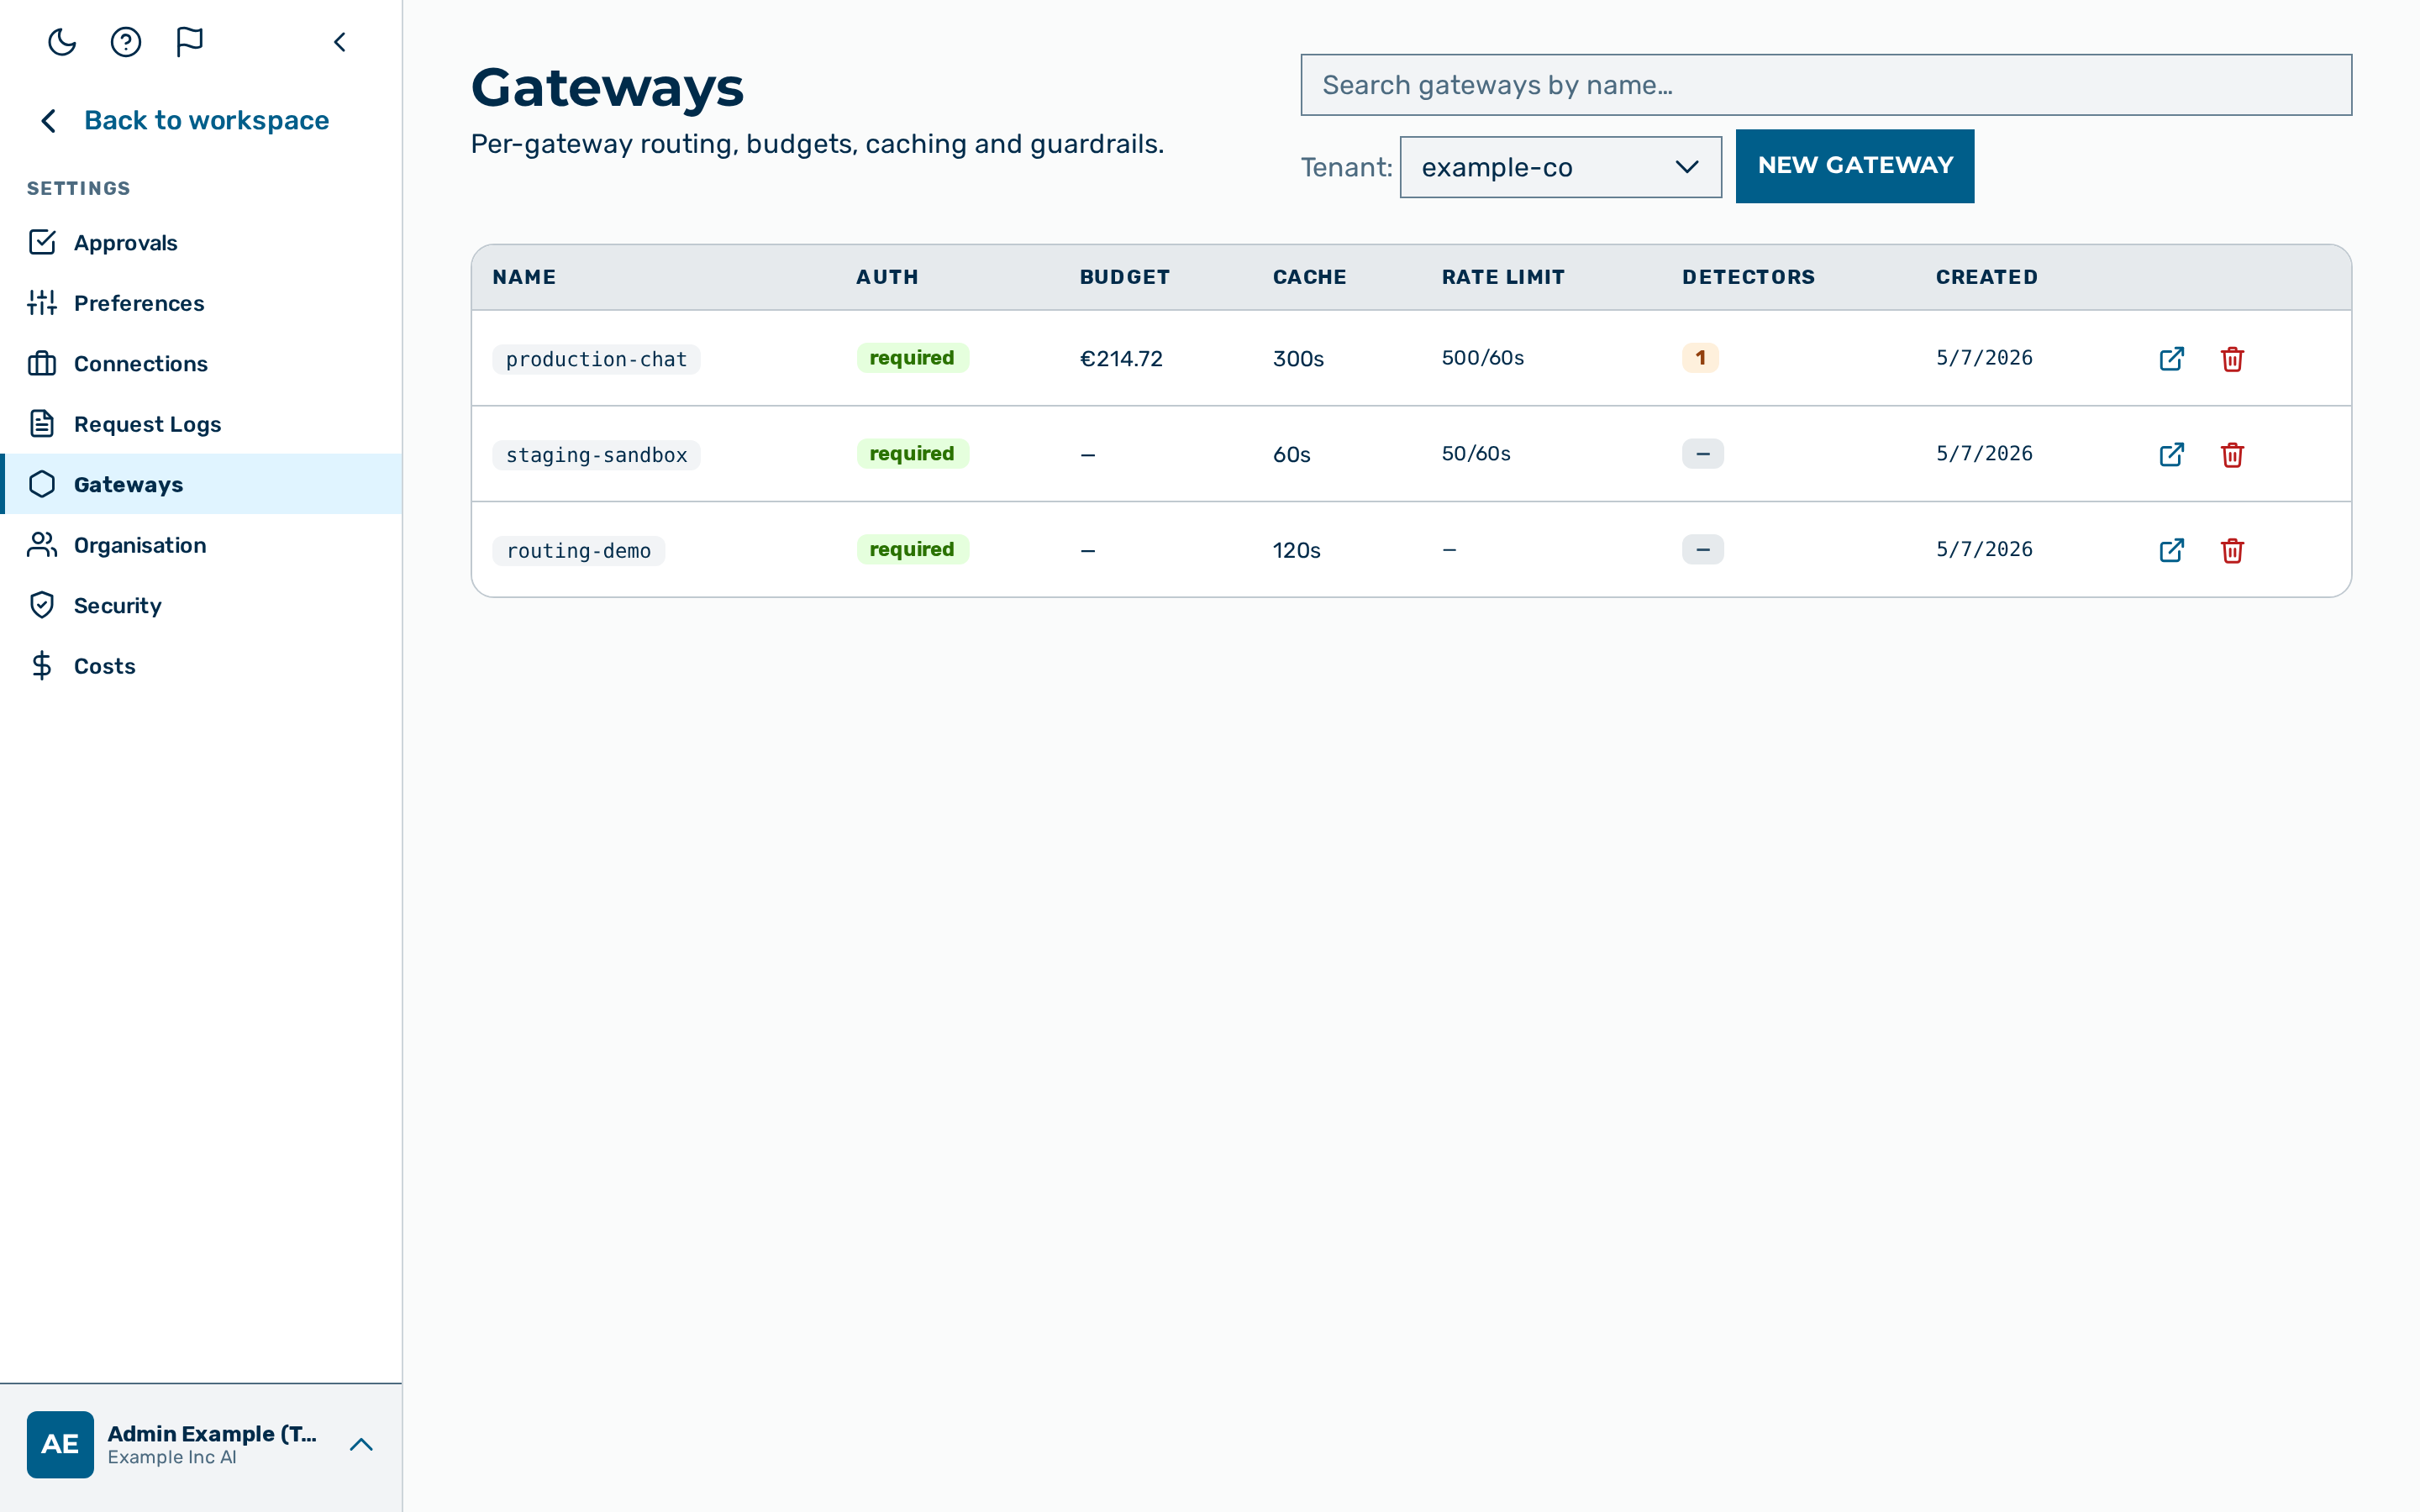
Proceed as follows to create a gateway inside the tenant:
- Open the Gateways view.
- Click on the + New Gateway button.
- The New Gateway dialog opens.
- Enter a value in the Slug field. For example:
production. - Click on the Create Gateway button.
-> The gateway is created and associated with the tenant.
⚠️ Caution: By default, gateways require an auth token on every inference request. To skip authentication while exploring the gateway, open the gateway detail view, click on the Edit button, clear the Require auth token check box, and save. Re-enable the check box before going to production.
Storing a provider key
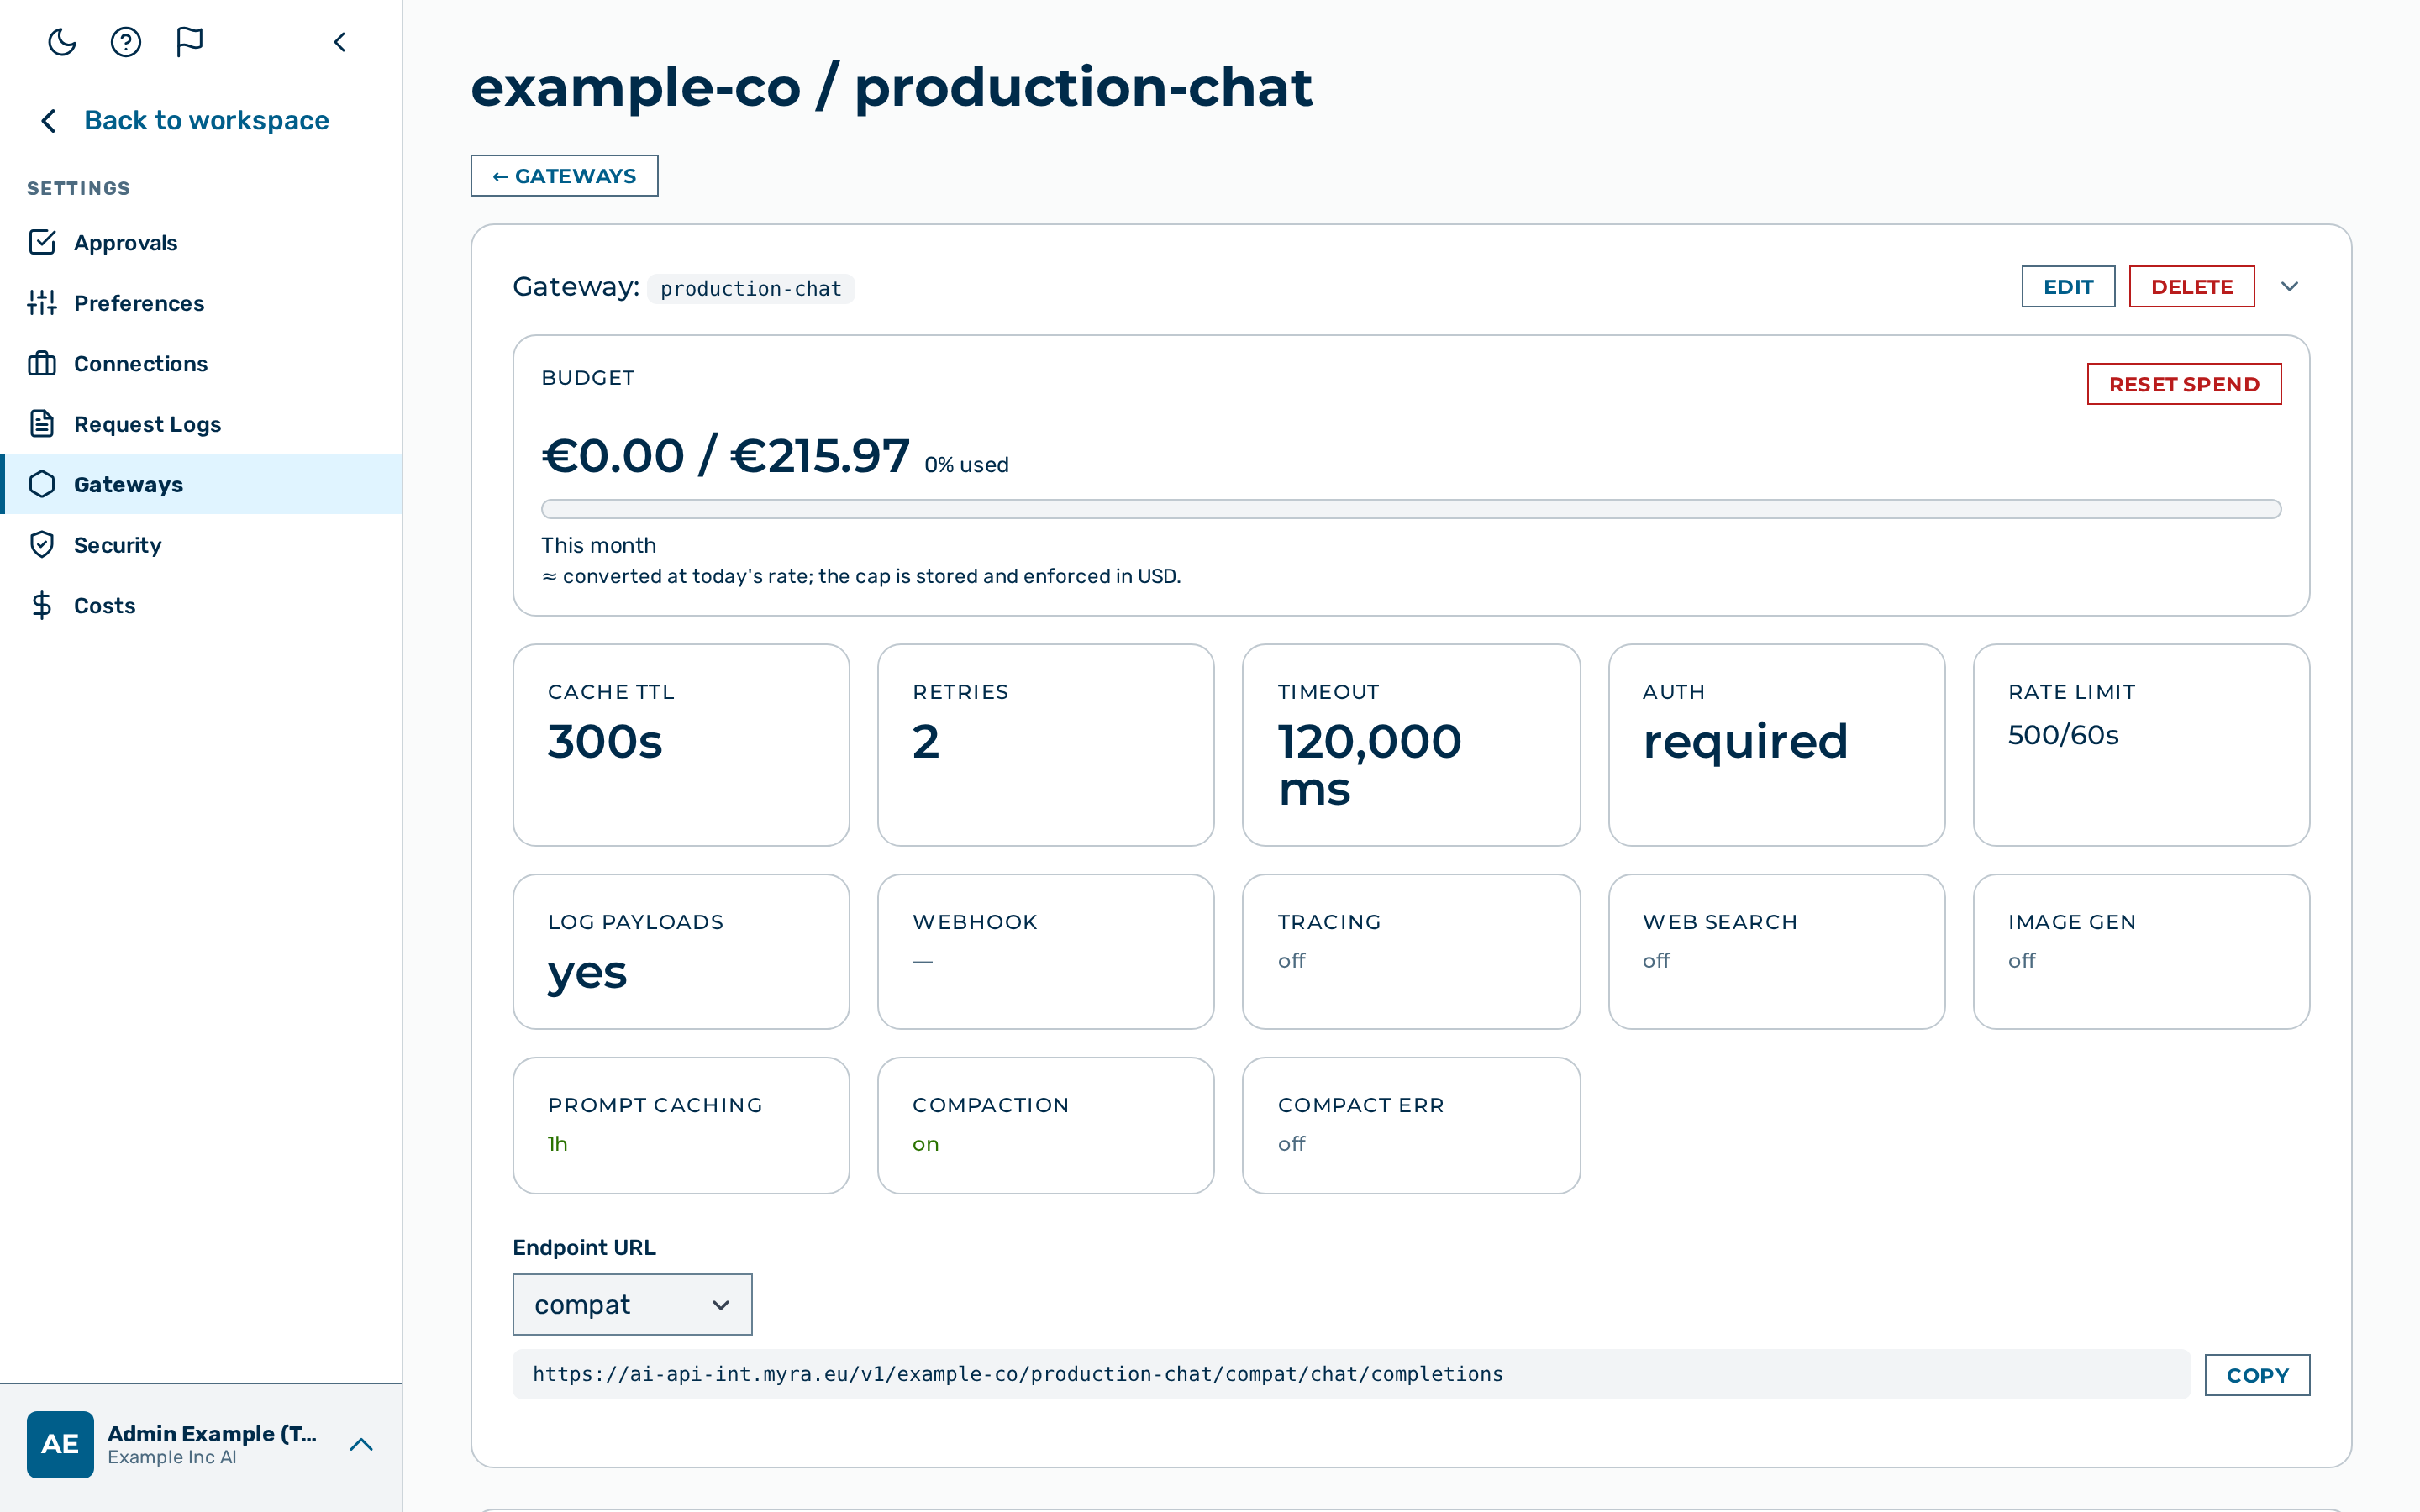
Proceed as follows to store a provider API key in the gateway:
- Open the Gateways view.
- Click on the Open → button of the gateway.
- The gateway detail view opens.
- Locate the Provider Keys card.
- Click on the + Add Model button.
- The Add Model dialog opens.
- Select openai in the Provider drop-down list (or any other provider).
- Leave the Alias value as
default. - Paste the API key in the API Key field.
- Click on the Store Key button.
-> The new entry appears in the Provider Keys card. The key is stored encrypted; the plaintext is never returned to the SPA.
Making your first request
Each request carries a gateway token in the Authorization: Bearer header (or the x-aig-token header). Generate a token on the gateway first, or clear Require auth token as described above to send unauthenticated requests while exploring.
Provider-native endpoint
Send a request directly to a specific provider using the provider-native endpoint:
curl -s -X POST \
  "https://<your-gateway-host>/v1/myapp/production/openai/chat/completions" \
  -H 'Content-Type: application/json' \
  -H 'Authorization: Bearer <GATEWAY_TOKEN>' \
  -d '{
    "model": "gpt-4o",
    "messages": [{"role": "user", "content": "Hello!"}]
  }'
OpenAI-compatible unified endpoint
The compat endpoint infers the provider from the model name:
curl -s -X POST \
  "https://<your-gateway-host>/v1/myapp/production/compat/chat/completions" \
  -H 'Content-Type: application/json' \
  -H 'Authorization: Bearer <GATEWAY_TOKEN>' \
  -d '{
    "model": "gpt-4o",
    "messages": [{"role": "user", "content": "Hello!"}]
  }'
A successful response looks like:
{
  "id": "chatcmpl-...",
  "object": "chat.completion",
  "model": "gpt-4o",
  "choices": [{"message": {"role": "assistant", "content": "Hello! How can I help?"}}],
  "usage": {"prompt_tokens": 10, "completion_tokens": 9, "total_tokens": 19}
}
-> The gateway forwards the request to the provider and returns the response to the client.
Checking the request log
Proceed as follows to verify the request was recorded:
- Open Request Logs via the user-block menu at the bottom of the left sidebar → Settings → Request Logs.
- The Request Logs view opens. Your request appears at the top of the list with provider, model, token count, cost, and latency.
-> The request log entry confirms the gateway processed and recorded the request.
Next steps
- Setting up a production tenant — the full ordered checklist from tenant to verified request
- Budgets — cap spend per gateway
- Rate limiting — throttle requests per gateway
- Guardrails — add a detection and protection pipeline
- Users — invite people to the tenant