My commands
Description
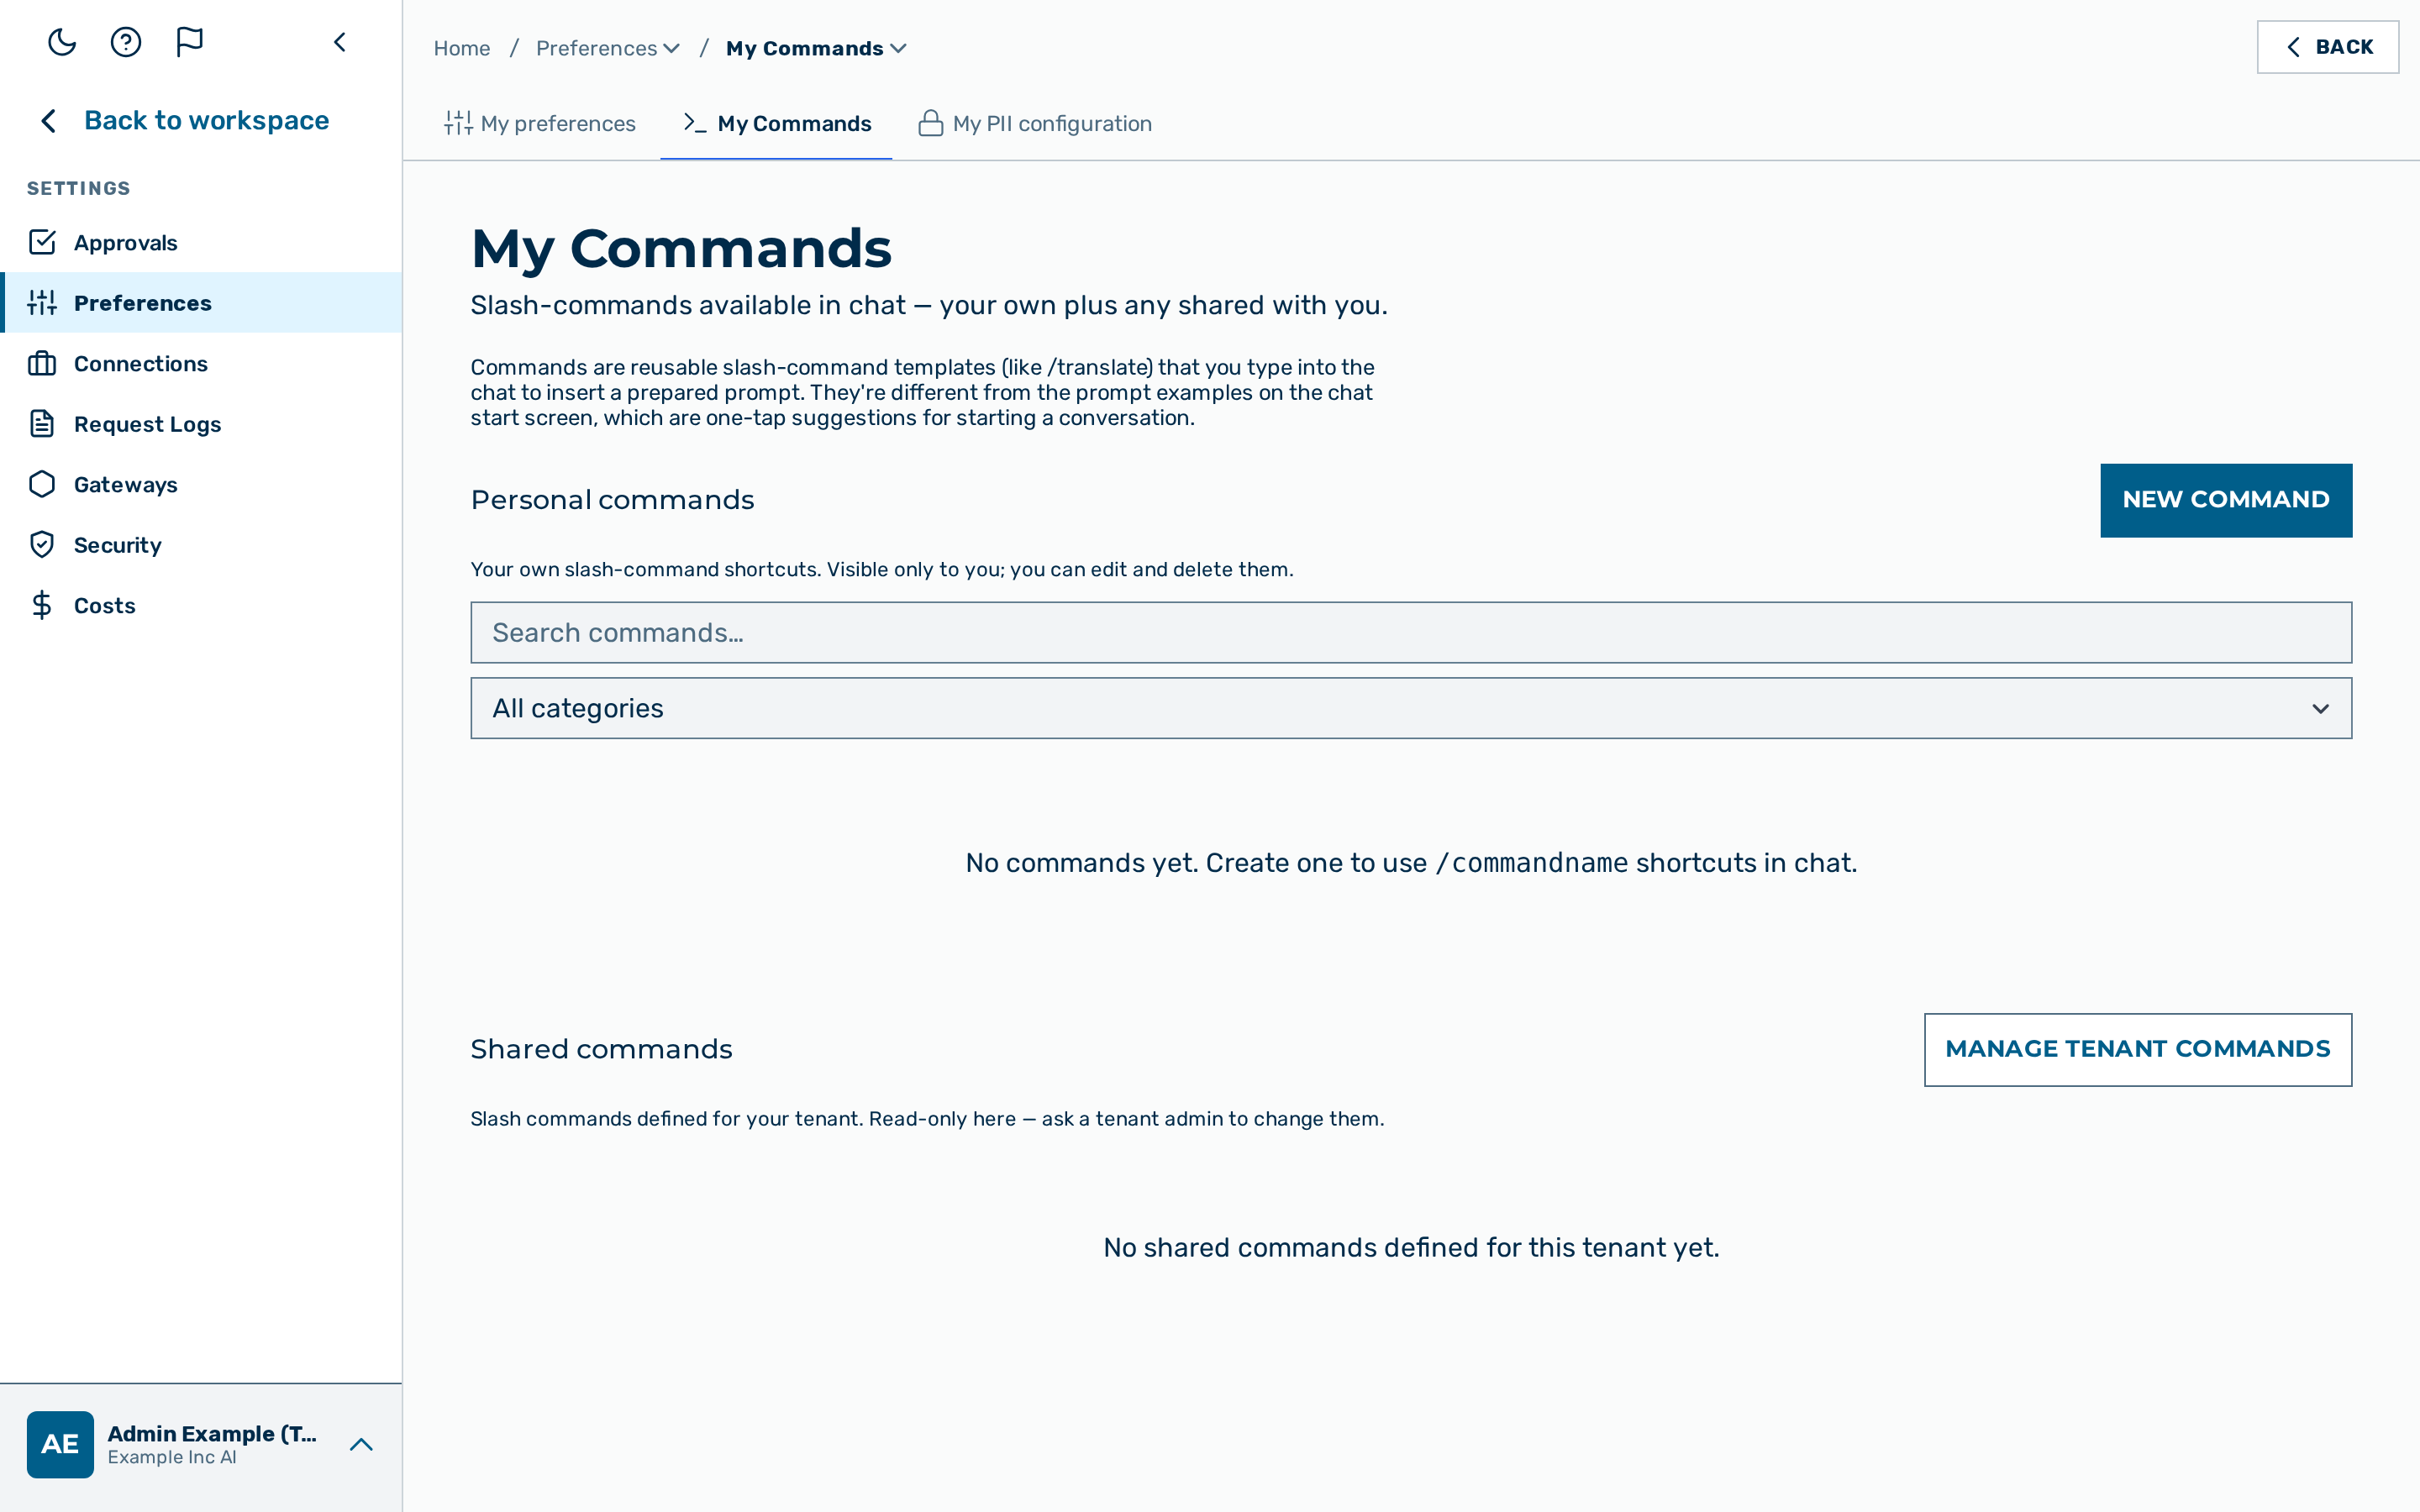
The My commands view collects the personal slash-commands of the signed-in user. The view is reachable from the My Commands tab of the Preferences group under Settings (navigate Settings › Preferences › My Commands) and via the direct URL /commands. The page heading reads My Commands.
A slash-command is a saved prompt template that can be recalled in the Chat view by typing /<name> in the message input. The template can contain {{variable}} placeholders; when the command is recalled, the user is asked for a value for each placeholder.
A short note at the top of the page explains that commands are reusable slash-command templates you type into the chat to insert a prepared prompt — distinct from the prompt examples shown on the chat start screen, which are one-tap suggestions for starting a conversation.
The table lists Command (the slash form /name), Category, Description, Template (truncated preview), and an action column with View, Edit, Versions, Share, and Delete buttons. Because the Template cell is only a truncated preview, the View button opens a read-only dialog showing the command's full template text and any {{variables}} it expects — available on every row, including read-only ones.
A search box performs a server-side full-text search over the caller's own commands (name, description, and template text), and a category dropdown filters the visible rows to a chosen category. Each command may carry an optional free-text Category (up to 64 characters; an empty value means "uncategorized").
When the table is empty, the view shows the message No commands yet. Create one to use /commandname shortcuts in chat.
Commands are personal — they are visible only to the user who created them.
Creating a command
Proceed as follows to create a command:
- Click on the New command button at the top of the view.
- The New Command dialog opens.
- Enter a value in the Name text field. Use a short identifier without spaces; the command is invoked as
/<name>in the chat input. - If required, enter a value in the Description text field. The description is shown in the chat picker.
- Enter the prompt body in the Template text field. Use
{{variable}}for placeholders; for example,Translate to {{language}}: {{text}}. - Click on the Create button.
-> The new command appears in the list of commands.
Viewing a command's full template
The Template column shows only a truncated preview. To read a command's complete template — including a read-only shared command whose text you cannot otherwise open — use the View action:
- Locate the command in either table.
- Click on the View button in the row.
- A read-only dialog opens showing the command's Description, its full Template text, and any
{{variable}}placeholders it uses. - Close the dialog with the Close button.
-> The View dialog never changes the command; it is available on personal commands, commands shared with you, and tenant shared commands alike.
Editing a command
Proceed as follows to edit a command:
- Locate the command in the table.
- Click on the Edit button in the row.
- The Edit Command dialog opens with the current values pre-filled.
- Update the Name, Description, Category, or Template fields as required.
- Click on the Save button.
-> The updated command is saved.
Version history and restore
Every time a command is created or edited, the system stores an immutable snapshot of its content (name, description, category, and template) as a new version. This lets a user review how a prompt evolved and roll back to any earlier wording.
Proceed as follows to view the history and restore a version:
- Locate the command in the table.
- Click on the Versions button in the row.
- The Version history dialog opens, listing every version newest-first with its version number and content.
- Click on the Restore button next to the version to reinstate.
- Confirm the restore in the dialog.
-> The chosen version's content is re-applied. Restore is non-destructive: it creates a new version whose content equals the restored one, so no history is lost.
The version history is owner-only — a user can only see and restore versions of their own commands. Requesting the versions of a command that is not the caller's own returns not found; an invalid version number is rejected as a bad request, and a version number that does not exist returns not found.
Sharing a command with selected users
A command owner can share a personal prompt with individually selected users in their own organization. A shared command appears in each recipient's My commands list marked Shared with you and is read-only — the recipient can use it in chat but cannot edit, restore, delete, or re-share it. Only the owner's own commands show the Edit, Versions, Share, and Delete actions.
Proceed as follows to share a command:
- Locate one of your own commands in the table.
- Click on the Share button in the row.
- The Share dialog opens, listing the users the command is currently shared with.
- Enter a colleague's email address in the Add a user by email field and confirm.
- The user is resolved within your organization and added to the list. An address that does not match a user in your organization is not added.
- Remove any user with the Remove button next to their entry.
- Click on Save sharing.
-> The command is shared with exactly the listed users. Sharing is scoped to your own organization; an address outside it is ignored.
Tenant shared commands
Below your own commands, the page shows a separate Shared commands section. These are the slash commands an administrator has configured for the whole organization (see Tenants — Shared commands). They are read-only: you can run them in chat but cannot edit, delete, or re-share them. Each row still offers the View button so the full template is inspectable. When the organization has none configured, the section shows No shared commands defined for this tenant yet.
If you are a tenant administrator, the Shared commands header shows a Manage tenant commands link that takes you to your tenant's page, where the organization-wide slash commands are edited (see Tenants — Shared commands). The link is a convenience shortcut; the server still checks your administrator role before any change is saved.
Deleting a command
Proceed as follows to delete a command:
- Locate the command in the table.
- Click on the Delete button in the row.
- An in-app confirmation dialog opens with the prompt Delete this command?
- Click on Confirm in the dialog.
-> The command is removed from the list.
Using a command in chat
Proceed as follows to use a command in the Chat view:
- Open the Chat view.
- Type
/in the message input field. - A picker shows the matching commands.
- Continue typing the command name to filter the picker.
- Click on the command in the picker, or press Enter when the command is highlighted.
- If the template contains
{{variable}}placeholders, the picker shows a fill-in form. - Enter a value for each placeholder.
- Press Enter or click on the send button.
-> The message is sent with the resolved template as its content.